
For every Self-hosted enthusiast, Docker is a magic tool that simplifies application deployment. However, as the number of running containers on the server grows, the scattered docker-compose.yaml files become a new headache.
If you are also troubled by this, it's time to meet DPanel — a lightweight container management panel.
Why Do You Need a Docker Management Panel?
Deploying projects using Docker and Docker Compose is undoubtedly efficient and pleasant. We can create a separate directory and a docker-compose.yaml file for each project, achieving easy deployment and environment isolation.
But over time, you might encounter these issues:
- Management Chaos: Configuration files for dozens of projects are scattered across different directories. Finding a specific configuration requires
cding to the corresponding directory first. - Difficult Maintenance: Updating an image version for a service or modifying a port mapping requires finding the corresponding
yamlfile and manually executing commands. - Unclear Status: You cannot visually see the running status, resource utilization, and log information of all containers at a glance.
To solve these pain points, DPanel was born.
What is DPanel?
DPanel is an open-source, lightweight container management panel. It focuses on providing core container management capabilities while maintaining a very low resource footprint (image size around 150MB, memory footprint around 20MB). It can be deployed via containers, features zero intrusion into the host machine, and is safe and reliable.
Core Highlights:
- Lightweight and Efficient: Extremely low resource usage, adding no extra burden to your server.
- Safe and Reliable: Runs inside a container, requires no privileged permissions, and does not intrude into the host operating system.
- Compose Management: Supports multiple ways to add and manage Compose projects.
- Comprehensive Features: Supports container management, log viewing, file browser, quick access to terminal inside containers, and other useful features.
- Multi-host Management: Manage Docker on multiple servers from a single panel via API (TLS) or SSH.
- Multi-language Support: Native support for multiple languages including Chinese, English, and Japanese, with no extra configuration needed.
How to Deploy DPanel
Deploying DPanel is very simple. It is recommended to deploy it directly using Docker Compose.
If your server does not have Docker and Docker Compose installed yet, you can refer to the following tutorial:
Extended Reading: Installing Docker and Docker Compose in Debian 12
Step 1: Choose the Version
DPanel offers two versions:
dpanel/dpanel:lite(Lite version): Does not include Nginx, suitable for users who already have a reverse proxy (like Nginx) installed on the host.dpanel/dpanel:latest(Standard version): Built-in Nginx, which can automatically handle domain binding and SSL certificates for you, suitable for clean environments.
This article takes the lite version as an example because it integrates better with existing environments.
Step 2: Create and Configure compose.yaml
First, create a working directory for DPanel and enter it:
1 | mkdir -p /opt/dpanel |
Then, create a compose.yaml file in that directory:
1 | services: |
Tip: The path to docker.sock usually doesn't need to be modified. If you are unsure, you can confirm it with the following command:
1 | docker context inspect $(docker context show) --format '{{.Endpoints.docker.Host}}' |
Configuration Explanation:
ports: Maps port8080of the container to port8807of the host.
Step 3: Start DPanel
In the /opt/dpanel directory, execute the following command to start the service:
1 | docker compose up -d |
Step 4: Initialization
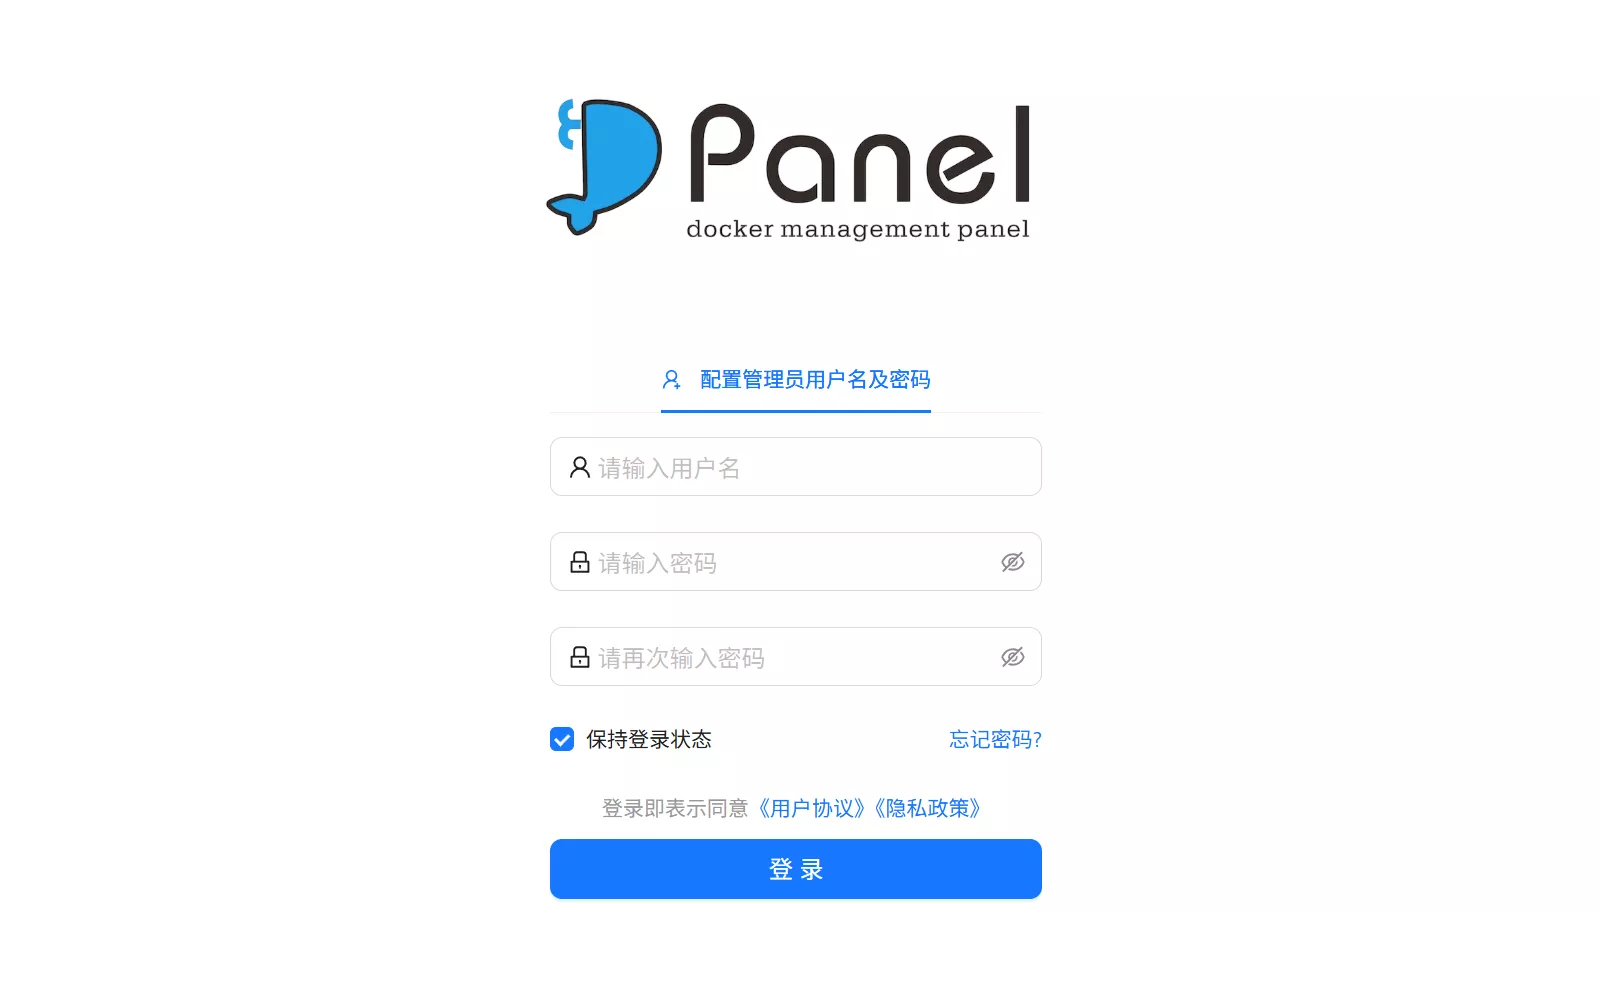
Now, visit http://<your-server-IP>:8807 in your browser. Upon the first access, you will be asked to create an administrator account and password. Once configured, you can log in to the management backend.
Core Features
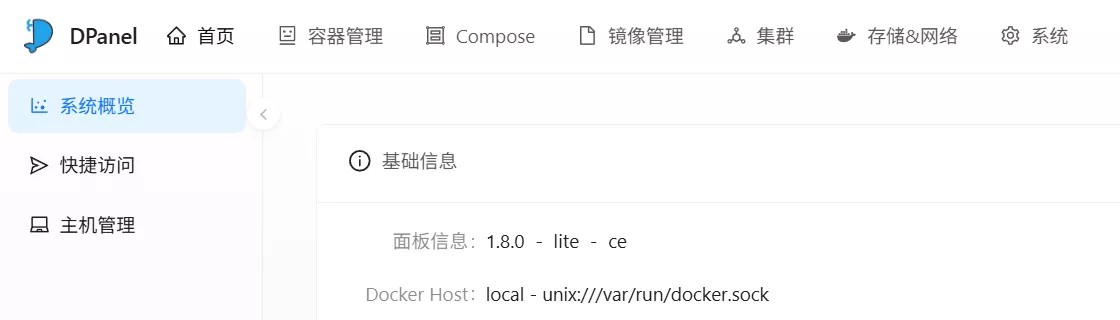
After entering the panel, you will see a clean dashboard displaying overview information about the server and containers.
Container Management
On the Container Management page, you can visually see the running status, port mapping, and other details of all containers. For each container, you can perform quick operations such as:
- View Logs: Real-time tracking of container output.
- Enter Terminal: Open the container's Shell directly in the browser.
- File Management: Browse and manage files inside the container.
Compose File Management
On the Compose page, you can easily manage compose.yaml files. However, this requires migrating our docker-compose.yaml / compose.yaml files. Please refer to the Migrating Existing Docker Compose Projects section below.
Image Management
On the Image Management page, we can view the image files on the current host and whether their corresponding files are in use. You can perform cleanups, synchronization, batch deletions, or export images.
You can also perform Registry Management, which is very helpful for regions like Mainland China.
Volume and Network Management
- On the volume management page, you can visually check the anonymous volumes used by each container and whether they are currently in use.
- The network management page lets you view the networks corresponding to Docker containers.
Migrating Existing Docker Compose Projects
We need to move previously managed Docker Compose projects into the DPanel directory to manage them using DPanel.
Migrating existing projects is very simple and takes just two steps:
Move and Rename: Move your entire existing project directory into the
dpanel/composedirectory under DPanel's working directory (/opt/dpanel/), and rename itsdocker-compose.yamlfile tocompose.yaml.For example, if you have a project located at
/root/my-project:1
2
3
4
5
6
7
8
9
10
11
12
13# 1. 创建目录
mkdir -p /opt/dpanel/dpanel/compose
# 2. 停止正在运行的服务(如果还在运行)
cd /root/my-project
docker compose down
# 3. 移动整个项目目录
mv /root/my-project /opt/dpanel/dpanel/compose
# 4. 复制配置文件
cd /opt/dpanel/dpanel/compose/my-project
mv docker-compose.yaml compose.yamlManage in the Panel: Refresh the DPanel page, and it will automatically discover
my-project.
Now, simply click on the container name to start, stop, edit, and perform other operations in the panel.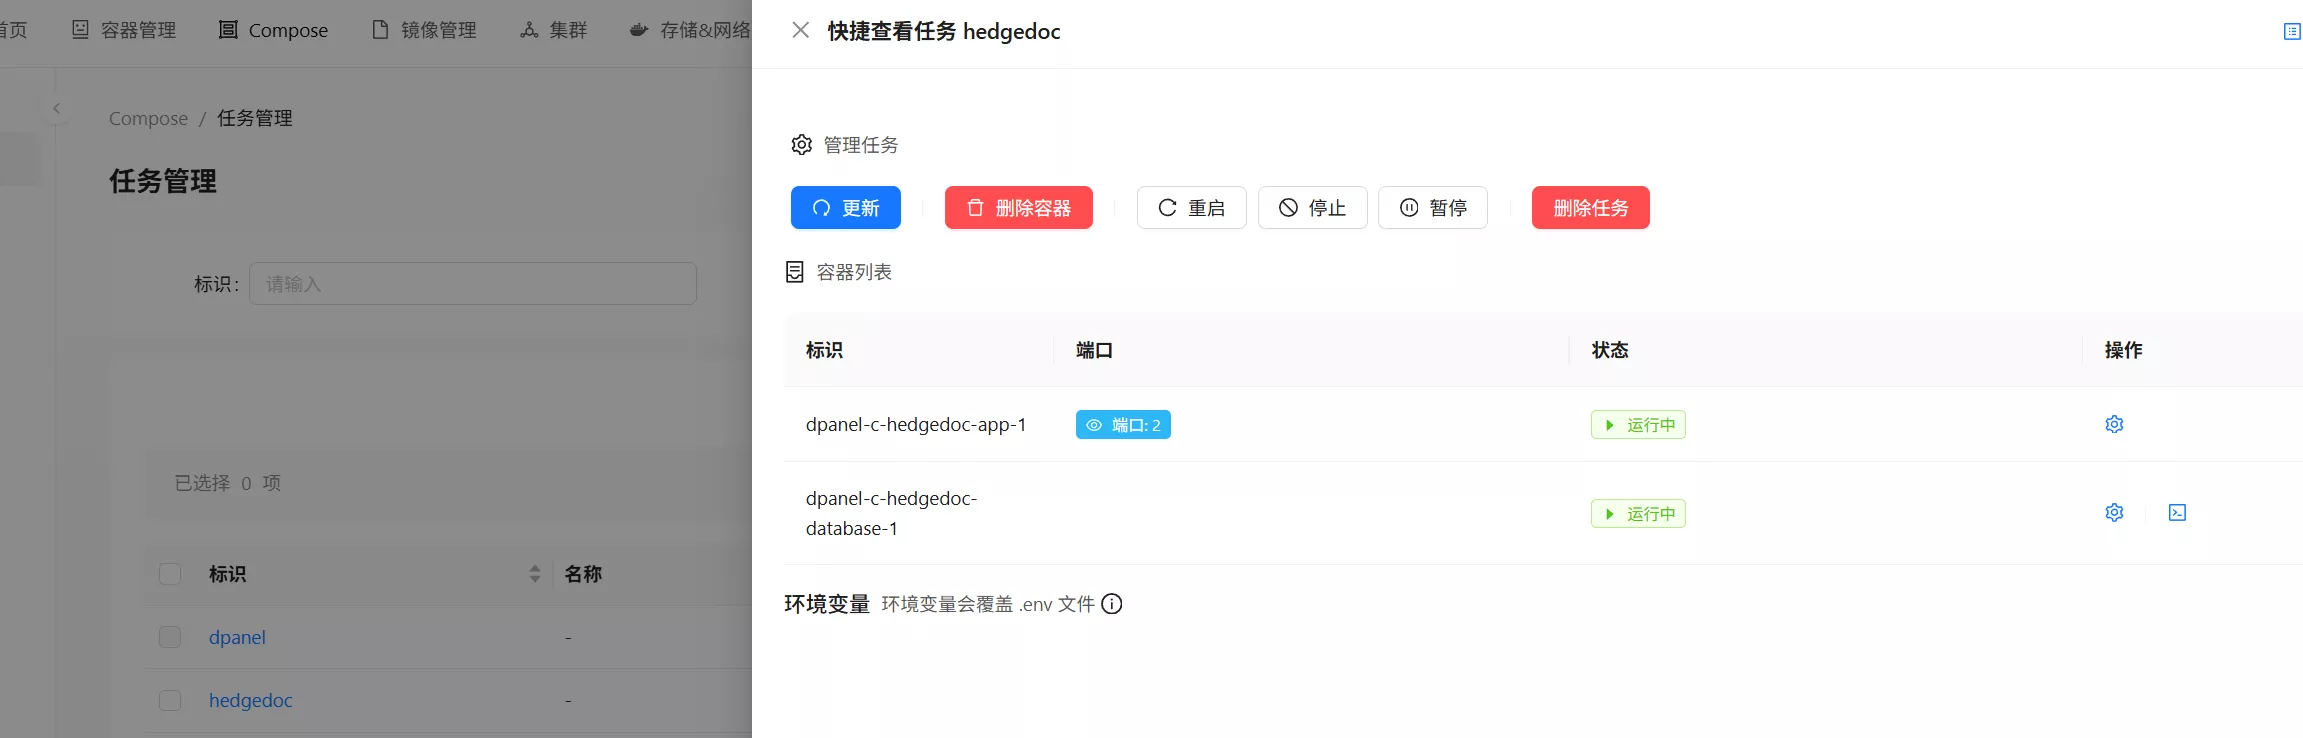
This way, you can unify all scattered projects into DPanel for management.
Path illustration before migration:
1 | / |
After migration:
1 | /opt/dpanel/ |
Unlike using docker compose directly, which automatically searches for four files (
compose.yaml,compose.yml,docker-compose.yaml,docker-compose.yml) in the directory, DPanel currently only supportscompose.yamlfiles.
Resource Footprint Details
We can use docker stats or docker compose stats to view the details of container resource utilization:
1 | cd /opt/dpanel |
The output is as follows, showing that it only uses 22.2MiB of memory:
1 | CONTAINER ID NAME CPU % MEM USAGE / LIMIT MEM % NET I/O BLOCK I/O PIDS |
Adding a Remote Server
DPanel supports managing Docker instances on multiple hosts from a single panel. It is recommended to connect via SSH, which is secure and avoids tedious Docker API certificate configuration.
The steps are as follows:
Step 1: Prepare the Remote Server User
We should connect using a non-root user.
Create a New User
If you don't have a suitable non-root user on your remote server, you can create one. For example, create a user nameddpaneluser:1
sudo adduser dpaneluser
Follow the prompts to set a password.
Add the User to the
dockerGroup
To grant the new user permission to operate Docker, you need to add them to thedockeruser group:1
sudo usermod -aG docker dpaneluser
Tip: After executing this command, the user needs to log in again (or open a new SSH session) for the group permissions to take effect.
Verify Permissions
Switch to the new user and try running a Docker command to verify if permissions are correctly configured.1
su - dpaneluser
Then run:
1
docker ps
If the command successfully returns the container list (even if it's empty), permissions are correctly configured.
Step 2: Prepare SSH Keys
Generate SSH Key Pair
On the server running DPanel (or your local computer), open a terminal and run the following command to generate a key pair. If a key pair already exists, you can skip this step.1
ssh-keygen -t ed25519
After entering the file name in the first step, press Enter all the way to accept the defaults. This will generate the following two files:
id_ed25519: Private key file, equivalent to a password, and must never be shared with anyone.id_ed25519.pub: Public key file. Saving this on the server enables authentication using the private key.
Copy the Public Key to the Remote Server
Use thessh-copy-idcommand to install the public key for the target user on the remote server.1
ssh-copy-id dpaneluser@<远程服务器IP>
This process will prompt you to enter the password for the
dpaneluseruser once.If password authentication is disabled for SSH, you will need to manually copy the content of
id_ed25519.pubto the~/.ssh/authorized_keysfile of the corresponding user.
Step 3: Configure the Connection in DPanel
In the DPanel interface, navigate to System > Multi-host, and click Add Host:
- First, enter the Name and Identifier.
- Choose SSH as the connection method.
- Turn on Enable Independent Compose Directory: so that you only view the corresponding compose files when accessing different servers.
- Fill in the IP address and SSH port of the remote server.
- It is highly recommended to use Private Key Authentication as the verification method, which is more secure and convenient than passwords.
- Fill in the Username, and manually paste or import the Private Key File.
Finally, click OK to save. During saving, DPanel will attempt to connect to the remote server. If the connection fails, the configuration cannot be saved, and you will need to check and modify the settings.
Once successfully added, you can easily switch between different Docker hosts using the dropdown menu at the top of DPanel.
Security Settings
Setting Up Nginx Reverse Proxy
To access your applications securely via HTTPS, it is strongly recommended to use a reverse proxy tool like Nginx.
Below is an Nginx configuration example. You need to obtain an SSL certificate for your domain (e.g., via Let's Encrypt).
1 | # /etc/nginx/sites-enable/dpanel.yourdomain.com.conf |
Restricting Access to Container Ports
After setting up the Nginx reverse proxy, we can restrict Docker ports to only allow localhost access, thereby avoiding exposing ports to the public network.
Change:
1 | ports: |
To:
1 | ports: |
Then restart the Docker container:
1 | docker compose down |
Summary
With its lightweight design, security features, and excellent support for Docker Compose, DPanel provides an excellent container management solution for Self-hosted enthusiasts.
It not only helps you organize messy yaml files but also gives you a clear overview of the status of all containers on your server. If you are looking for a simple and efficient Docker GUI tool, DPanel is definitely worth a try.

Comments