
Introduction
There are countless personal bookkeeping applications, but many of them only support a single platform. If you use both Android and iOS devices, managing your finances can become very troublesome.
ezBookkeeping, which we are introducing today, solves this pain point. It is a lightweight, self-hosted personal bookkeeping application with a friendly interface and powerful features.
And it is very simple to deploy! As long as you have Docker, you can set it up with just a single command. It has minimal hardware requirements, running stably on a Raspberry Pi, NAS, or cloud server.
Before starting, you can check out the online demo here: https://ezbookkeeping-demo.mayswind.net
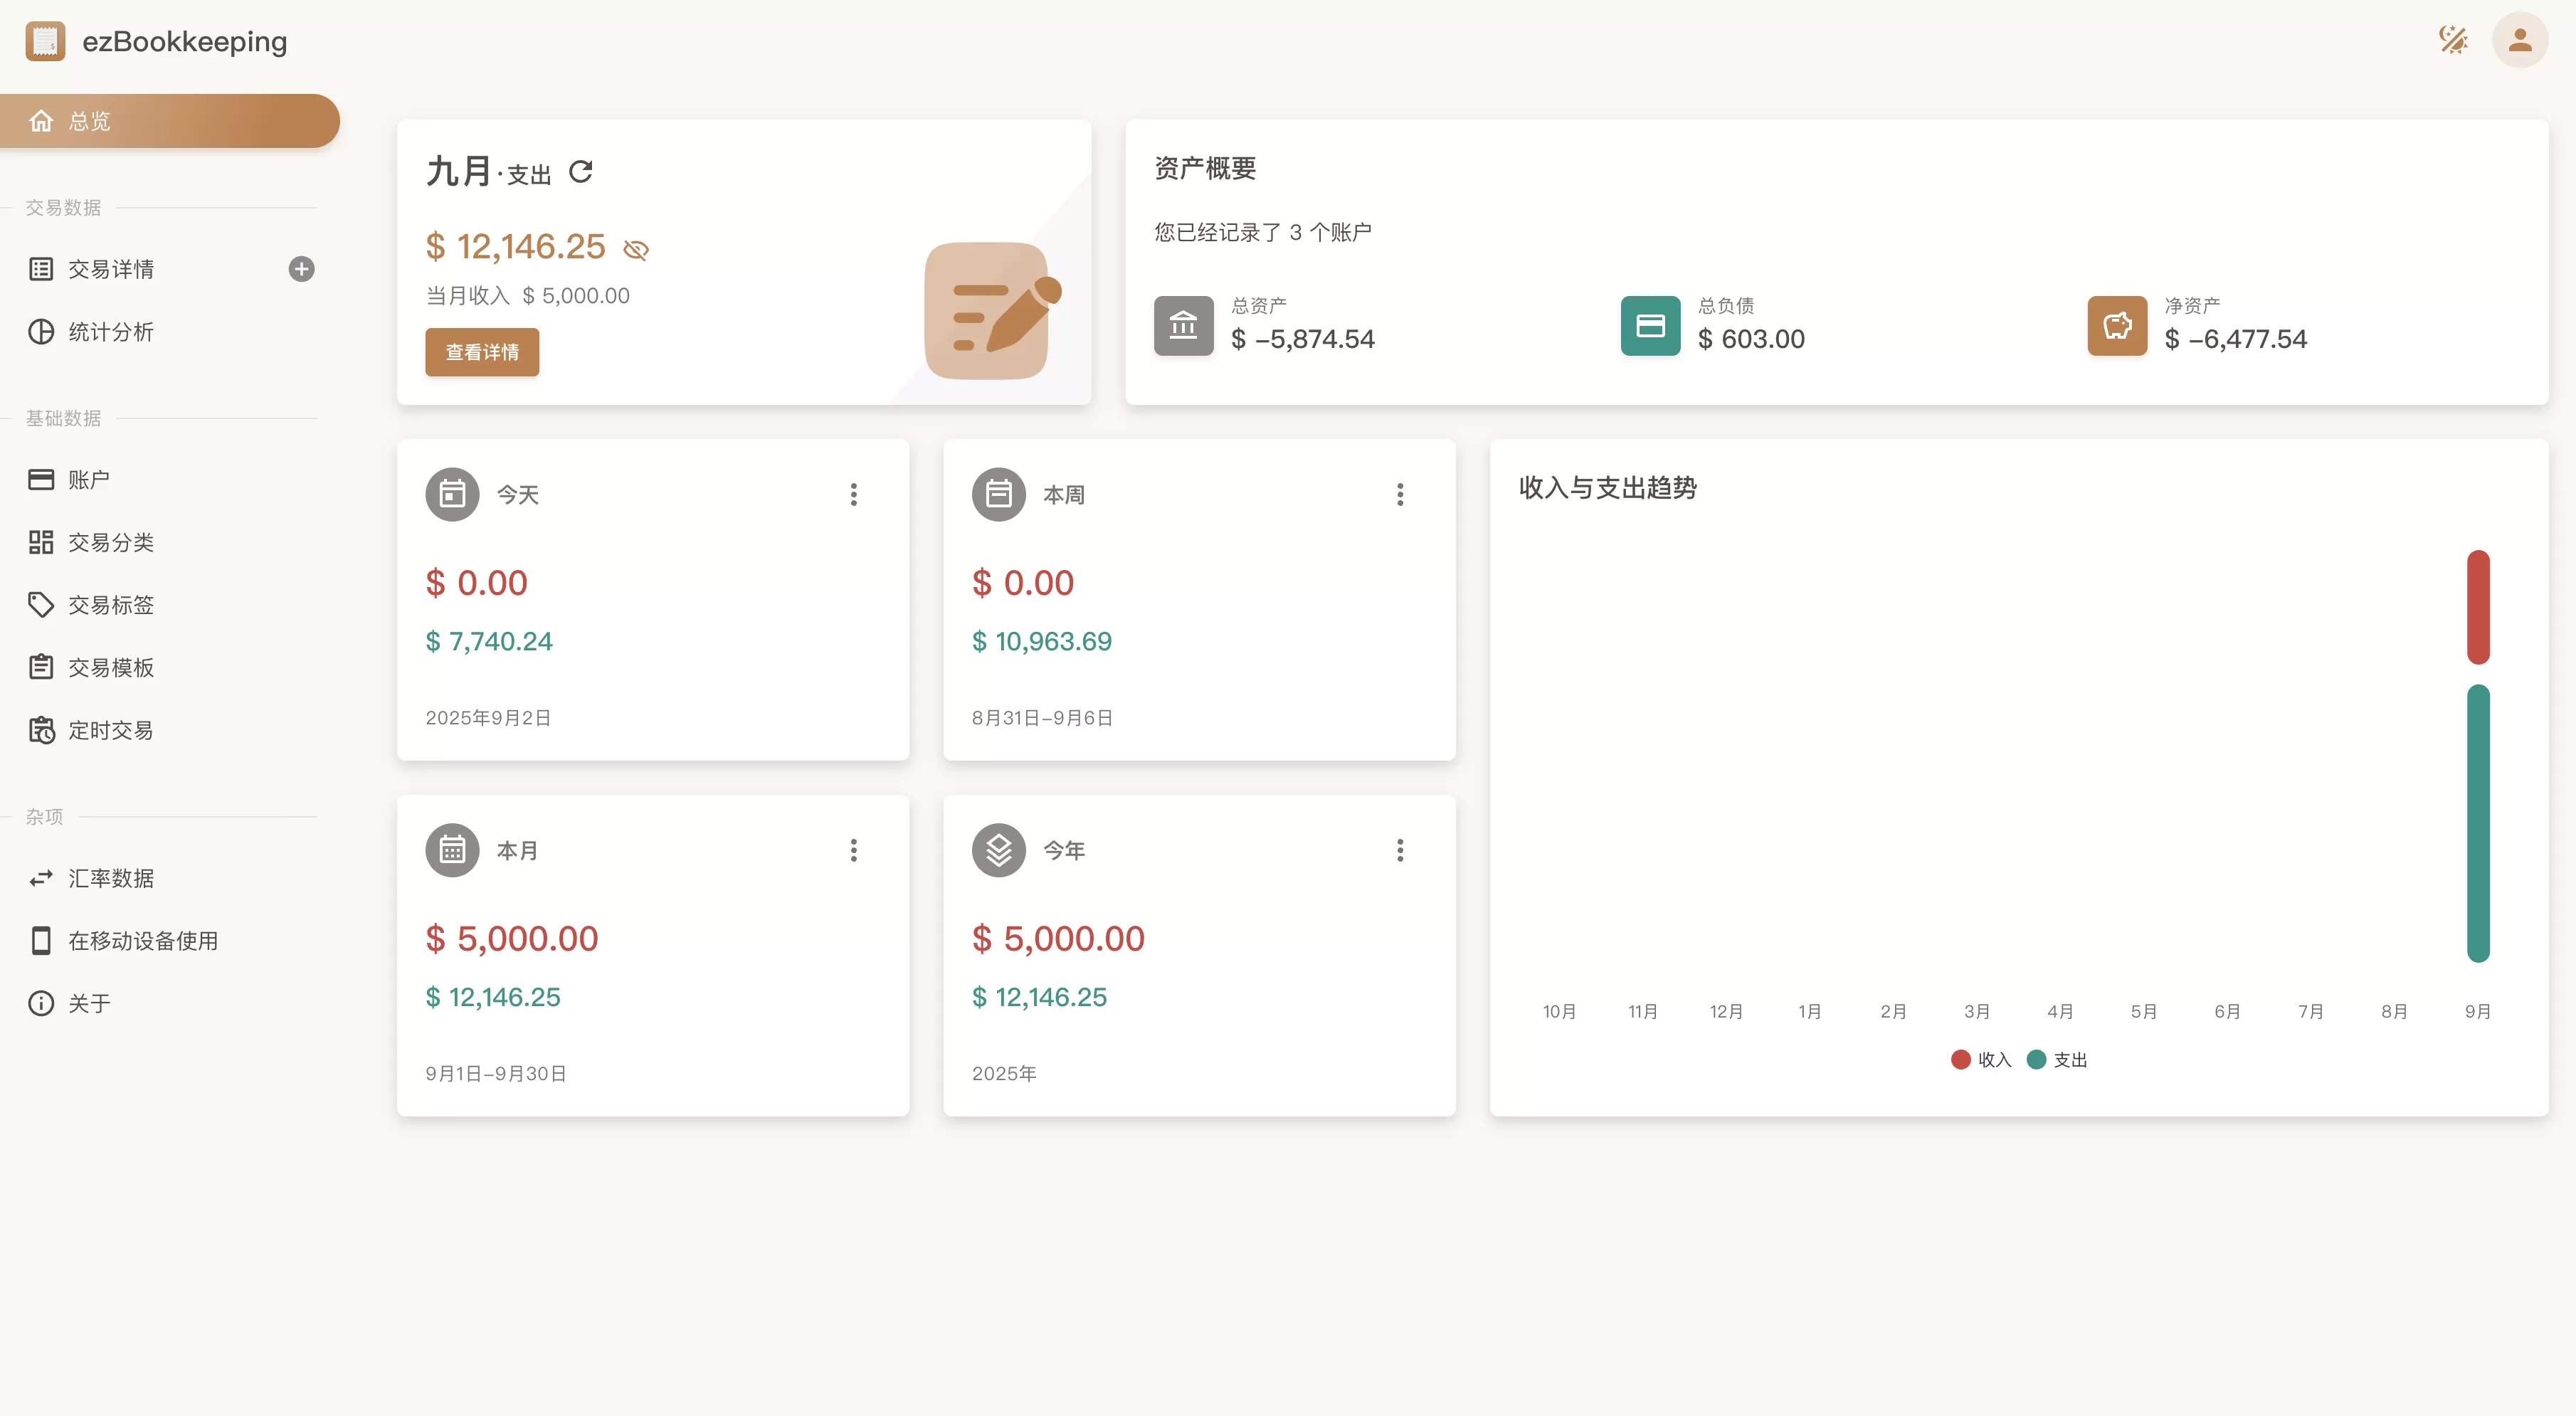
Key Features of ezBookkeeping
ezBookkeeping is an open-source personal bookkeeping application written in Go and Vue: GitHub Repository, currently boasting 1.4k Stars.
- Open Source & Self-hosted: Designed for privacy and data autonomy.
- Lightweight & Fast: Optimized for performance, running smoothly even on resource-constrained devices.
- Simple Installation: Supports Docker.
- Modern & Friendly User Interface: Optimized UI for mobile and desktop, supporting PWA.
- AI-Driven: Supports MCP.
- Powerful Bookkeeping Features:
- Sub-accounts and category structures.
- Support for adding image attachments to transactions.
- Record transaction geolocation and display it on a map.
- Support for recurring transactions.
- Advanced filtering, searching, data visualization, and analysis.
- Localization & Internationalization Support: Multi-language and multi-currency support.
- Safe & Reliable: Two-factor authentication (2FA), login frequency limits, and app lock.
- Data Import/Export: Supports multiple formats including CSV, OFX, QFX, QIF, IIF, Camt.053, MT940, GnuCash, Firefly III, Beancount, Feidee (随手记), Alipay, and WeChat Bills.
We will use Docker and Docker Compose to quickly build ezBookkeeping.
1. Environment Preparation
Before starting, you need your own VPS or a NAS system that supports Docker containers.
1. Installing Docker and Docker Compose
This is the foundation of our containerized deployment. If your server does not have it installed yet, you can refer to the following tutorial.
Extended Reading: Installing Docker and Docker Compose in Debian 12
2. Prepare Domain Name
To access your bookkeeping application securely via HTTPS, you need a domain name and must resolve it to your server's IP address.
3. Create Project Directory
Create a dedicated directory for ezBookkeeping to store configuration files and data.
1 | mkdir -p /opt/ezbookkeeping |
2. Deploying with Docker Compose
Creating the compose.yml File
In the project directory (/opt/ezbookkeeping), create a file named compose.yml.
1 | cd /opt/ezbookkeeping |
We will use sqlite as our database storage. Before starting, we need to create the corresponding directories and set permissions:
1 | mkdir -p ./data ./log ./storage |
Then create the compose.yaml file:
1 | services: |
You can use the following command to generate a 32-character random string for setting EBK_SECURITY_SECRET_KEY:
1 | openssl rand -hex 16 |
Configuration Explanation:
ports: Maps port 8080 of the container to port8080of the host. 127.0.0.1 means ezBookkeeping can only be accessed via localhost (or a reverse proxy), enhancing security.environment:EBK_SERVER_DOMAIN: Set the domain name to be used, which must start withhttps://.EBK_SECURITY_SECRET_KEY: The security key used to encrypt tokens. Make sure to change this to a sufficiently long, random string.
volumes: Persists ezBookkeeping data, attachments, and logs in the corresponding directories on the host, ensuring data is not lost when the container is updated or rebuilt.
portscan be temporarily set to"8080:8080", and changed to"127.0.0.1:8080:8080"once you confirm it is running properly.
Default paths inside the container:
- Configuration file :
/ezbookkeeping/conf/ezbookkeeping.ini - Database file (using sqlite3):
/ezbookkeeping/data/ezbookkeeping.db - Log file :
/ezbookkeeping/log/ezbookkeeping.log - Object storage root path :
/ezbookkeeping/storage/
Starting the Service
In the directory where compose.yml is located, execute the following command to pull the image and start the service:
1 | docker compose up -d |
If you did not specify 127.0.0.1:8080 in ports settings, you can visit http://ip:8080 to access the ezBookkeeping Web interface.
3. Configuring Nginx Reverse Proxy
To access your bookkeeping application securely via HTTPS, it is highly recommended to use a reverse proxy tool like Nginx.
Below is an Nginx configuration example. You need to obtain an SSL certificate for your domain (e.g., via Let's Encrypt).
1 | # /etc/nginx/sites-enable/ez.yourdomain.com.conf |
Note:
- Replace
ez.yourdomain.comwith your actual domain name. - Replace the SSL certificate paths
/path/to/your/fullchain.pemand/path/to/your/privkey.pemwith your actual certificate file paths.
Test and reload Nginx configuration:
1 | nginx -t |
4. Getting Started
Now, you can access your private bookkeeping application via https://ez.yourdomain.com in your browser.
Upon the first visit, it will open the login interface. Click Create New Account to register.
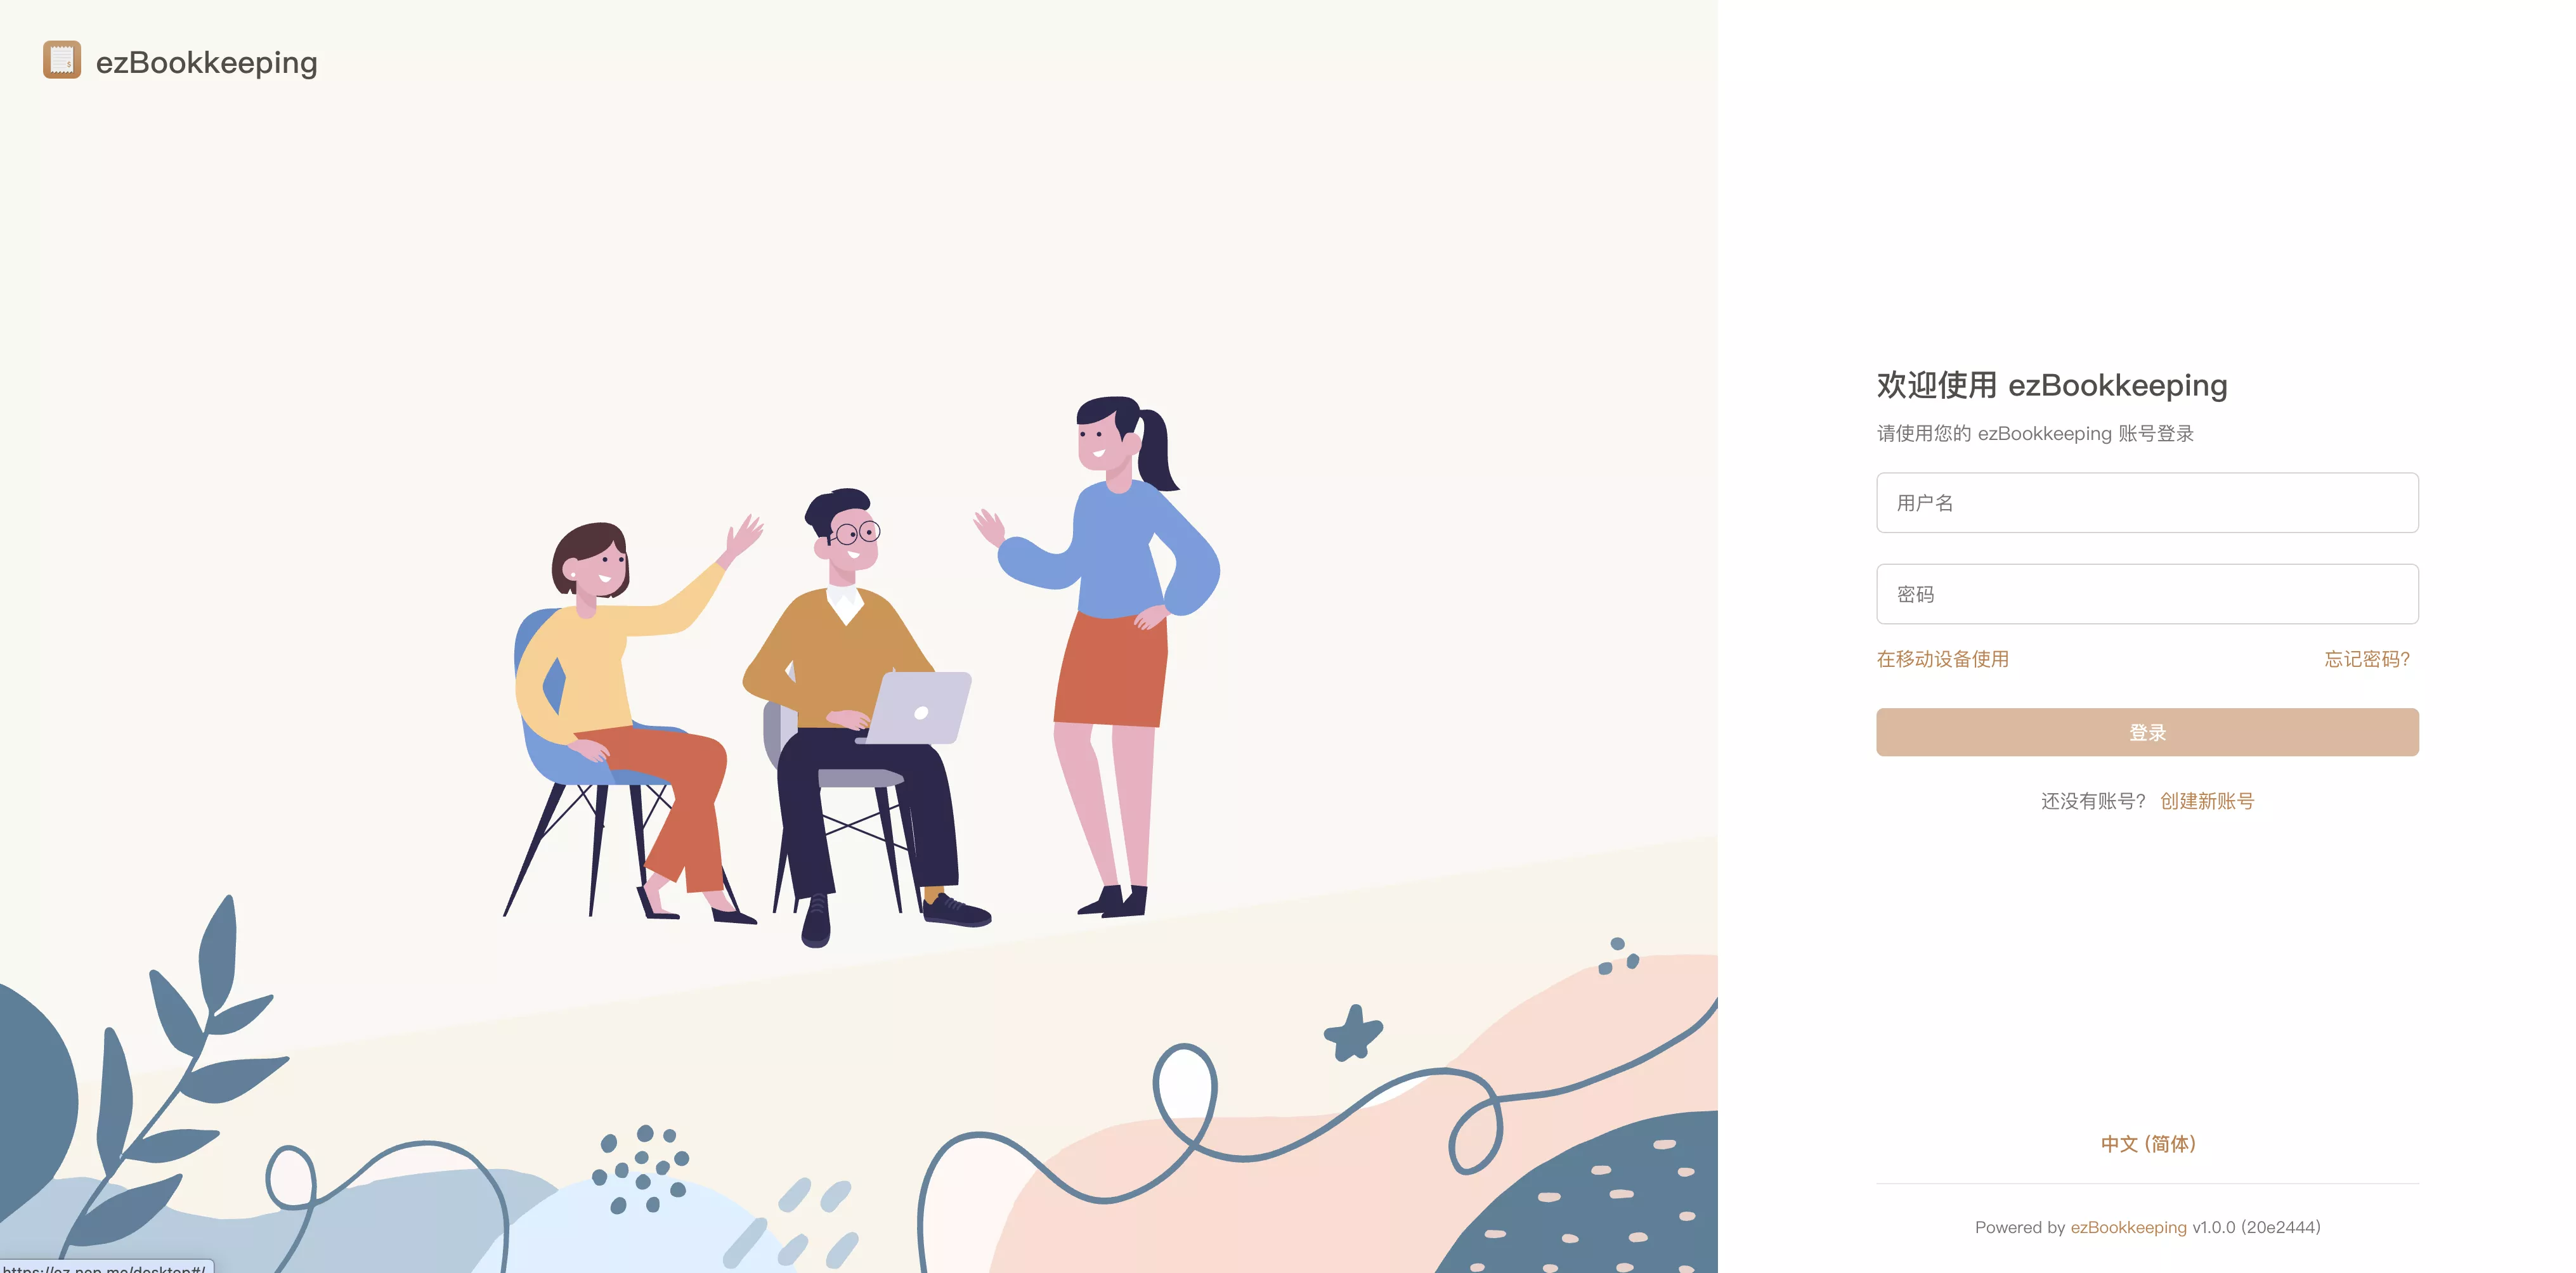
After creating the account, choose whether to use preset categories. Once completed, you can start recording your first transaction!
5. Importing Firefly III Data
I previously used another open-source bookkeeping system, Firefly III. I was primarily attracted by the interface of ezBookkeeping, so I decided to try it out for a while.
| Feature | Firefly III | ezBookkeeping |
|---|---|---|
| Interface | Compact, conveys more information | Beautiful, modern |
| Category | Does not separate expense, income, or transfer categories | Requires setting two-tier categories |
| Multi-currency | Displays separately | Sums and displays converted amounts based on exchange rates |
| Reports | Supported | Supported |
| Resource Footprint | 130MB+ | 20MB+ |
In summary, Firefly III is more powerful and displays multi-currency values more intuitively, but entry is more tedious. ezBookkeeping is more lightweight, has a beautiful interface, is convenient to record in, and even supports MCP.
Migration Process
First, we need to create categories and accounts in ezBookkeeping that correspond to Firefly III.
- Categories in ezBookkeeping must be placed in a sub-category; you cannot select a top-level category when creating transactions in ezBookkeeping.
You can also bulk-create missing categories directly on the import interface. In this case, all categories will be created under a default top-level category.
Then, retrieve your backup data from Firefly III. In Firefly III, click Export Data > Export all transactions to get the CSV file.
In ezBookkeeping's transaction details, click Import, choose Other Financial App File Formats > Firefly III Data Export File.
Adjust any invalid mappings, then click import.
6. Disabling Registration
If we are using it only for personal use, we can disable the registration function of ezBookkeeping after completing account registration.
The configuration file inside the ezBookkeeping container is located at /ezbookkeeping/conf/ezbookkeeping.ini. We can override it using the environment option in the compose.yml file:
1 | environment: |
Then restart the container:
1 | docker compose down |
The complete list of overridable configurations can be viewed here: ezBookkeeping - Configuration
Summary
With Docker and ezBookkeeping, we built a fully functional, beautifully designed personal bookkeeping system with data completely under our control in just a few minutes. Compared to commercial bookkeeping apps on the market, the self-hosted solution is not only free but also fundamentally protects the privacy of your financial data.

Comments