
Introduction to Memos
Memos is an open-source, lightweight note-taking service that allows you to easily capture every inspiration and thought, much like posting on Weibo or Twitter. Because it is open-source and supports Docker deployment, we can use it to build a private note-taking system completely under our own control.
The core features of Memos include:
- Markdown syntax support
- Tag management
- Task list support
- Public/Private note permission settings
- Multi-user collaboration
Before starting the deployment, you can check out the official Memos Live Demo to experience it quickly.
This tutorial will guide you through deploying a secure, private Memos instance quickly using Docker Compose, giving you your own note management system in no time.
1. Environment Preparation
Before starting, you need your own VPS or a NAS system that supports Docker containers.
1. Installing Docker and Docker Compose
If your server does not have Docker and Docker Compose installed yet, you can refer to the following tutorial:
Extended Reading: Installing Docker and Docker Compose in Debian 12
2. Creating the Project Directory
Create a dedicated directory for Memos to store configuration files and data.
1 | mkdir -p /opt/memos && cd /opt/memos |
2. Deploying Memos with Docker Compose
Creating the docker-compose.yml File
In the project directory (/opt/memos), create a file named docker-compose.yml.
1 | vim docker-compose.yml |
Paste the following content into the file:
1 | services: |
Configuration Explanation:
ports: Maps Memos' Web interface to port 5230 of the hostvolumes: Persists Memos data in thedatafolder under the same directory asdocker-compose.yml, ensuring data is not lost when the container is reconstructed
For future backups or migrations, simply package and copy the
./datafolder directly.
Starting the Memos Service
In the directory where docker-compose.yml is located, execute the following command to pull the image and start the service:
1 | docker compose up -d |
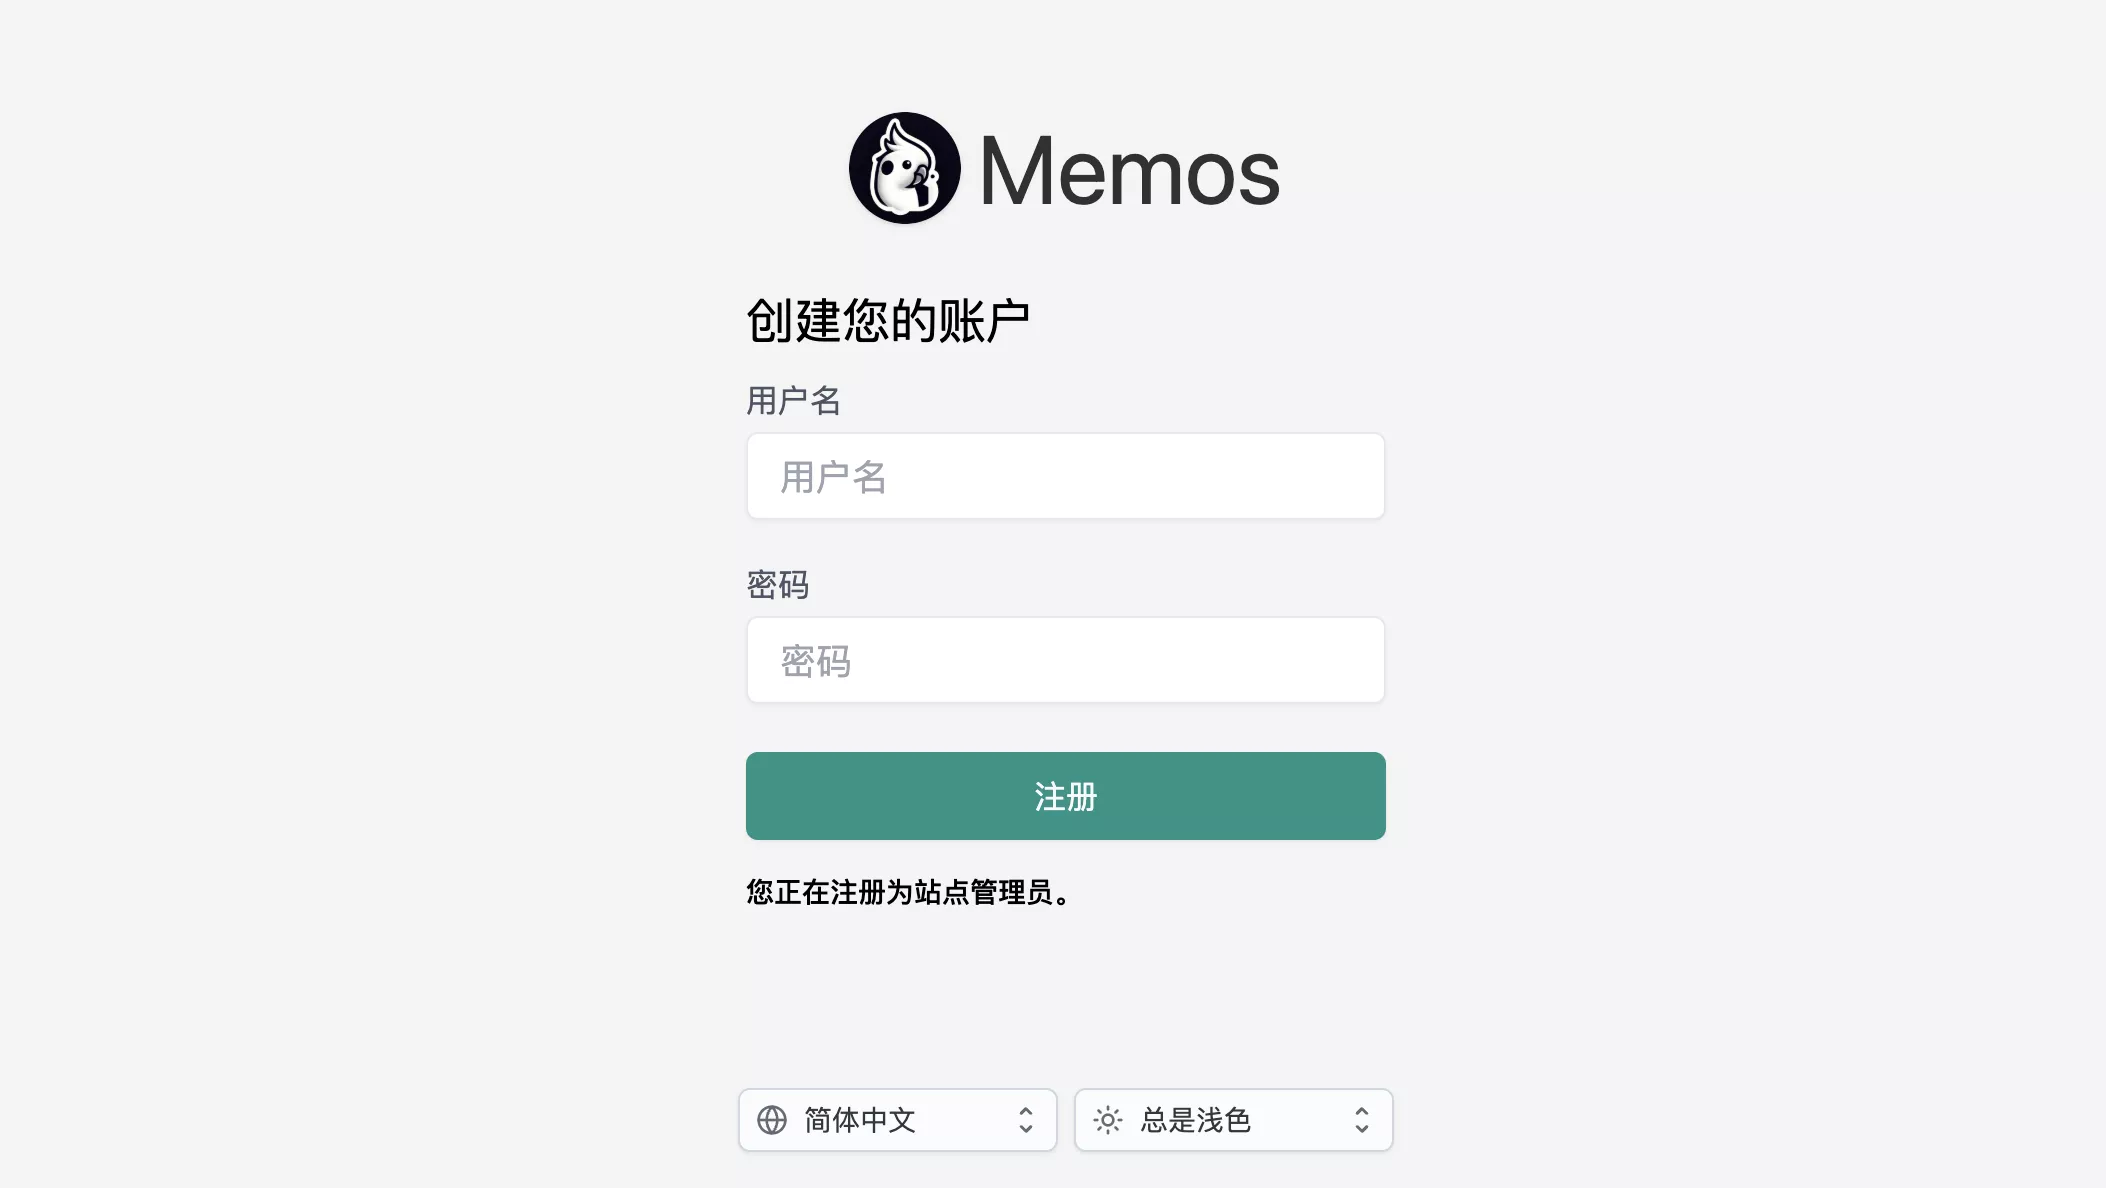
Then open a browser and visit http://<your-server-IP>:5230 to access the Memos Web interface. On the first launch, it will prompt you to register an administrator account (the page defaults to English, you can switch languages at the bottom).
3. Security Settings
For a private note-taking system, security is equally important. If you are using it only for personal purposes, you can disable registrations.
1. Disabling User Registration
Once logged into Memos, enter the administrator settings:
- Click the settings button on the left sidebar.
- Select System.
- Turn on the
Disallow user registrationoption.
2. (Highly Recommended) Using a Reverse Proxy
Exposing the Web port directly to the public internet is unsafe. It is recommended to use Nginx or another reverse proxy tool to serve the Web interface and use HTTPS.
1 Modify Port Mapping: Restrict Memos' Web port to localhost access only.
Modify the ports section in the docker-compose.yml file:
1 | ports: |
2 Restart Service:
1 | docker compose down |
3 Configure Reverse Proxy: In your reverse proxy tool, set up a proxy rule to forward traffic from memos.yourdomain.com to http://127.0.0.1:5230.
Nginx Example (Reverse Proxy Section Only)
The following example reverse proxies HTTP traffic for the domain memos.example.com to local 127.0.0.1:5230.
1 | location / { |
Test and reload Nginx configuration:
1 | nginx -t |
Conclusion
Congratulations! Through this tutorial, you have successfully set up a powerful and completely private personal note-taking system. Memos, with its lightweight design and excellent support for Markdown, serves as an outstanding tool for capturing ideas, managing tasks, and building a personal knowledge base.
Now, you can start recording your every inspiration freely without worrying about data privacy. Due to using Docker Compose, future maintenance and upgrades will also be extremely easy.
Hopefully, this new note-taking system brings convenience to your study and work.

Comments