
In daily work and study, we often collect various useful website links—from development tools and technical documentation to practical online services. As the bookmarked websites grow, managing and accessing these resources efficiently becomes a challenge.
Today, we will use VitePress to set up a clean, beautiful, and highly customizable personal navigation site to keep your frequently visited websites organized and easily accessible.
The navigation site will be based on the GitHub open-source project: vitepress-nav-template
Preview
Before starting, you can visit the following sites to preview the effect:
Why Choose VitePress?
Compared to traditional navigation site solutions, vitepress-nav-template built on VitePress offers the following advantages:
- Lightweight & Fast: Built on Vite, providing a smooth development experience and extremely fast build speeds
- Easy Deployment: A static site that can be easily deployed to platforms like GitHub Pages and Netlify
- Responsive Design: Supports mobile devices, allowing you to access your navigation site anytime, anywhere
The only downside is that all data is saved within a single file, making edits somewhat unintuitive.
Installation
Installing vitepress-nav-template is very simple. We just need to clone the repository using git clone:
1 | git clone https://github.com/maomao1996/vitepress-nav-template.git my-nav |
If you prefer to use GitHub (GitHub Pages), you can click
Use this template>Create a new repositorydirectly on the GitHub project page, and then clone your own repository to your local machine.
Enter the folder, install dependencies, and run the local preview:
1 | # 进入项目文件夹 |
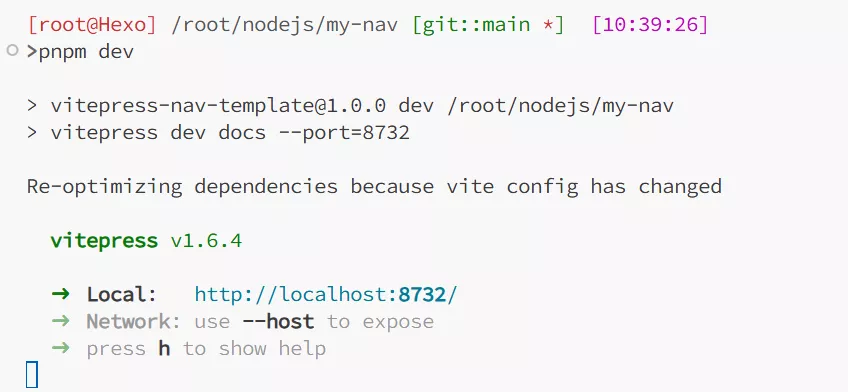
You might see some dependency error reports when running it for the first time; these do not affect usage and can be ignored.
Then, visit http://localhost:8732/ to preview. The homepage is shown by default. Click "Frontend Navigation" (or equivalent link) to open the navigation page at http://localhost:8732/nav/.
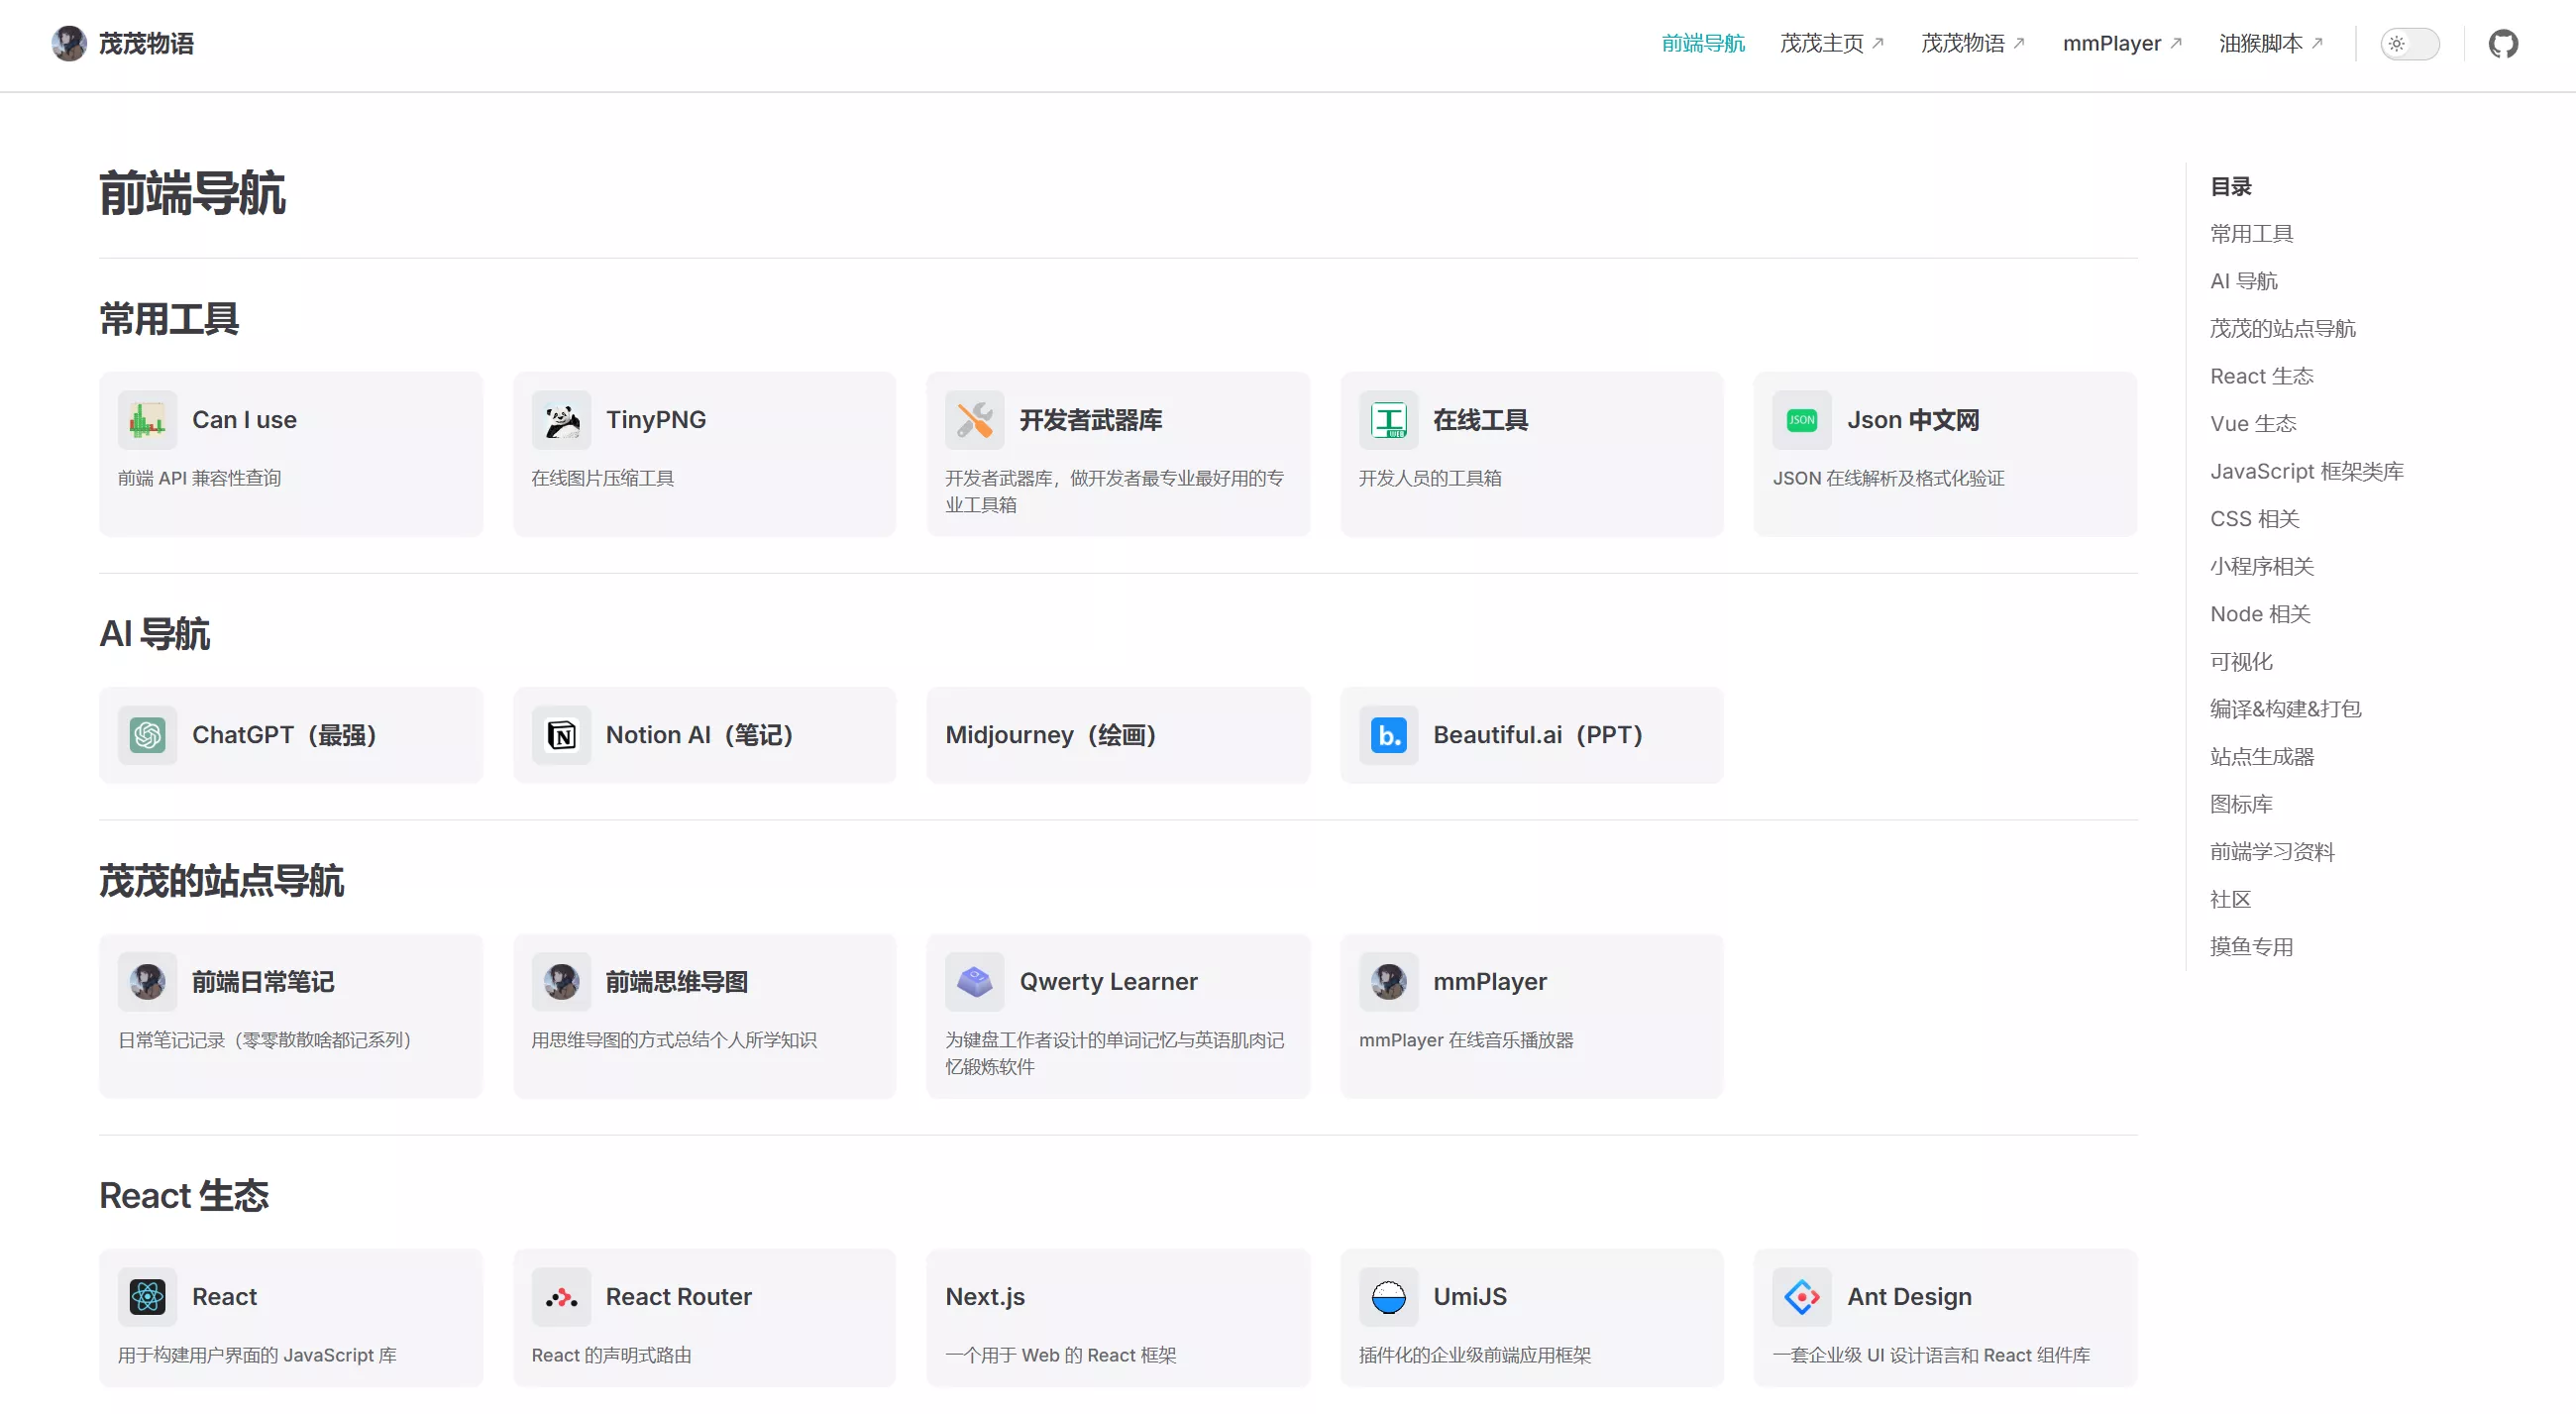
After visiting, you will notice that the website already contains some template data. We need to modify it.
Updating Content
If you are unfamiliar with VitePress, you should first understand its directory structure.
Looking at the workspace explorer in VS Code, we need to focus on the docs folder:
VitePress compiles
filename.mdintofilename.html.
- docs/.vitepress/ : Site configuration folder
- docs/nav/ : Navigation page folder
- docs/public/ : Static asset folder for storing icons
- docs/index.md : The template's default homepage content. test.md can be safely deleted.

Modifying Site Metadata
The configuration file docs/.vitepress/config.ts contains the basic settings for the site:
1 | export default defineConfig({ |
Modifying the Top Navigation Bar
The data for the site's top navigation bar is saved in docs/.vitepress/configs/nav.ts:
1 | import type { DefaultTheme } from 'vitepress' |
Modifying Navigation Data
The navigation page data is stored in the docs/nav/ directory. We need to edit the content of data.ts.
File Structure
Navigation data uses a categorized structure where each category contains a title and a list of navigation items:
1 | export const NAV_DATA: NavData[] = [ |
Adding a New Category
Add a new category object inside NAV_DATA:
1 | { |
Adding a Navigation Item
Add a new item to the items array of an existing category:
1 | { |
Icon Configuration
- Using external icon links:
1 | icon: 'https://example.com/favicon.ico' |
- Using local icon files:
1 | // 放置在 public/icons/ 目录下 |
Directly Opening the Navigation Page on Visit
We only need to copy the three files inside docs/nav/ directly to the docs/ directory.
After moving the files, we need to update some import paths. In data.ts, change the first line:
1 | import type { NavLink } from '../.vitepress/theme/types' |
To:
1 | import type { NavLink } from './.vitepress/theme/types' |
Disabling Comments
Currently, comments use the author's giscus settings. You can replace it with your own details in docs/.vitepress/config.ts, or simply comment out the comment block if you don't need comments:
1 | // comment: { |
Deploying Online
GitHub Pages
The project comes with a built-in GitHub Pages deployment script: .github/workflows/deploy.yml. It will automatically deploy when you push to GitHub, pushing the static site files to the gh-pages branch.
If your GitHub Pages custom domain quota is already used by another project, you can access your project at
https://your-username.github.io/projectusing the other project'sgh-pages.
Cloudflare Pages
If you don't want to use GitHub or prefer Cloudflare's services, you can also deploy to Cloudflare Pages.
Below we'll introduce how to deploy using command-line tools or by manually uploading files.
Creating a Pages Project
Visit Cloudflare's Dashboard, and follow these steps:
- First, click Compute (Workers) > Workers and Pages on the left sidebar.
- Click Create, select Pages, and then choose Direct Upload.
- Set the Project Name on the new page.
Generating Static Assets
Before uploading, we need to generate the static files for the navigation site by running:
1 | pnpm build |
The website's static files will be generated in the dist/ directory. The simplest way is to manually compress it into a zip file and upload it through the deployment interface.
Deploying to Pages
We can use Cloudflare's wrangler by running the following commands:
1 | pnpm add -D wrangler@latest |
Create a deployment configuration file by creating wrangler.toml in the root folder, and fill in:
1 | name = "your-project-name" |
Then run:
1 | npx wrangler pages deploy |
On the first run, you will need to authenticate and authorize. Open the link in your browser and click authorize to complete.
Then the deployment will complete.
According to the terminal prompt, visit the pages.dev domain name to view your website.
Binding a Custom Domain
In the Cloudflare Dashboard, open Workers and Pages, and click Custom Domains to add it.
If your domain is hosted on Cloudflare, simply enter the corresponding domain name.


Comments