
Fizzy Introduction
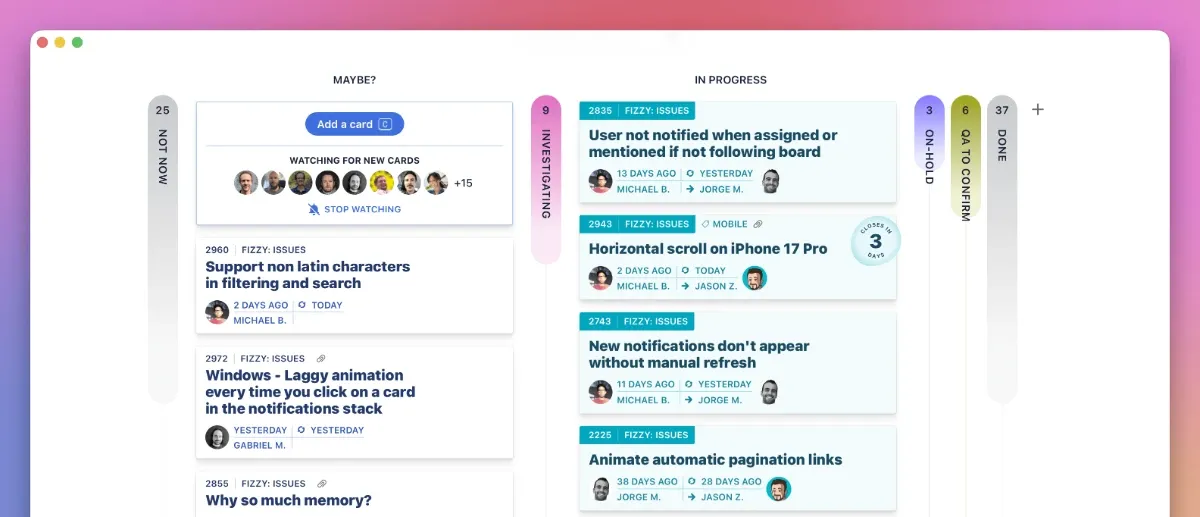
Fizzy (https://fizzy.do) is a brand new Kanban task management tool released by the famous software company 37signals (the team that developed Basecamp and HEY). It focuses on speed, simplicity, and vibrant colors, making it highly suitable for tracking bugs, ideas, small projects, and content workflows.
Unlike bloated project management tools like Jira, ClickUp, and Asana, Fizzy uses a card + column UI. To use it, you just need to create boards, add cards, move statuses, assign tasks, and receive notifications—perfect for small, lightweight, and clearly defined workflows.
Fizzy interface preview:
Advantages of Fizzy
- Minimalism and Speed: No complex menu hierarchies, AI summaries, or redundant analytical charts. The interface is colorful and intuitive, focusing on the Kanban experience of cards and columns.
- User-Friendly Defaults: It supports features like automatically closing cards that have had no updates for a long time, Webhooks, browser notifications, public board links, card activity logs, etc. This keeps the board clean and fits human working habits perfectly.
- Self-Hostable Support: Fizzy's code is fully open-source and supports self-hosting. The official team provides pre-built Docker images, making it perfect for self-hosting enthusiasts.
- Affordable Pricing: If you don't want to self-host, using the official service is free for the first 1,000 cards; the paid plan beyond that is a flat $20 per month (including unlimited users and unlimited cards), without head-ache inducing per-user pricing tiers.
Deploying with Docker
Below, we will introduce how to deploy the Fizzy application using Docker and access it via Caddy or Nginx reverse proxy.
Verify Docker Environment
Docker environment verification commands:
1 | docker --version |
If you don't have it installed, you can check: Installing Docker and Docker Compose on Debian
Create docker-compose.yaml File
In this article, we choose to deploy the container under the /opt/fizzy directory, and save the data directory in the same path to make it easy to package and backup with one click.
1 | Create container directory |
Then create the compose.yaml file:
1 | services: |
Parts that need to be configured:
SECRET_KEY_BASE:Generate it using the commandopenssl rand -hex 32, or generate it online using a web tool like Simple Tool - Session Secret.BASE_URL:Set the domain used to access it. Fizzy emphasizes secure design and requires https for access.
Fizzy uses email verification codes for login. If you want to send emails, you need to configure the SMTP section, but this is not mandatory. If SMTP is not configured, you can use the appended docker command in the next section to query the code.
Start the Docker Container
Run a single Docker Compose command to start the container in the background:
1 | docker compose up -d |
Accessing Fizzy
First, we set up the web server proxy to point to 3080.
Nginx Reverse Proxy Configuration
If you use Nginx as a reverse proxy, you can create a new site configuration, for example:
1 | server { |
If you are using Certbot to obtain SSL certificates, you can configure the HTTP site first, and then run:
1 | sudo certbot --nginx -d fizzy.example.com |
After configuring the certificate, visit https://fizzy.example.com to open Fizzy.
Caddy Reverse Proxy Configuration
If you use Caddy, the configuration will be even simpler. Edit the Caddyfile:
1 | fizzy.example.com { |
Caddy will automatically apply for and renew HTTPS certificates. Just make sure the domain name is correctly pointed to the server, and the server's 80 and 443 ports are open.
After editing is complete, reload Caddy:
1 | sudo systemctl reload caddy |
Then visit:
1 | https://fizzy.example.com |
to enter the Fizzy login page.
Register and Login
Open your browser and navigate to the BASE_URL domain to open the login page:
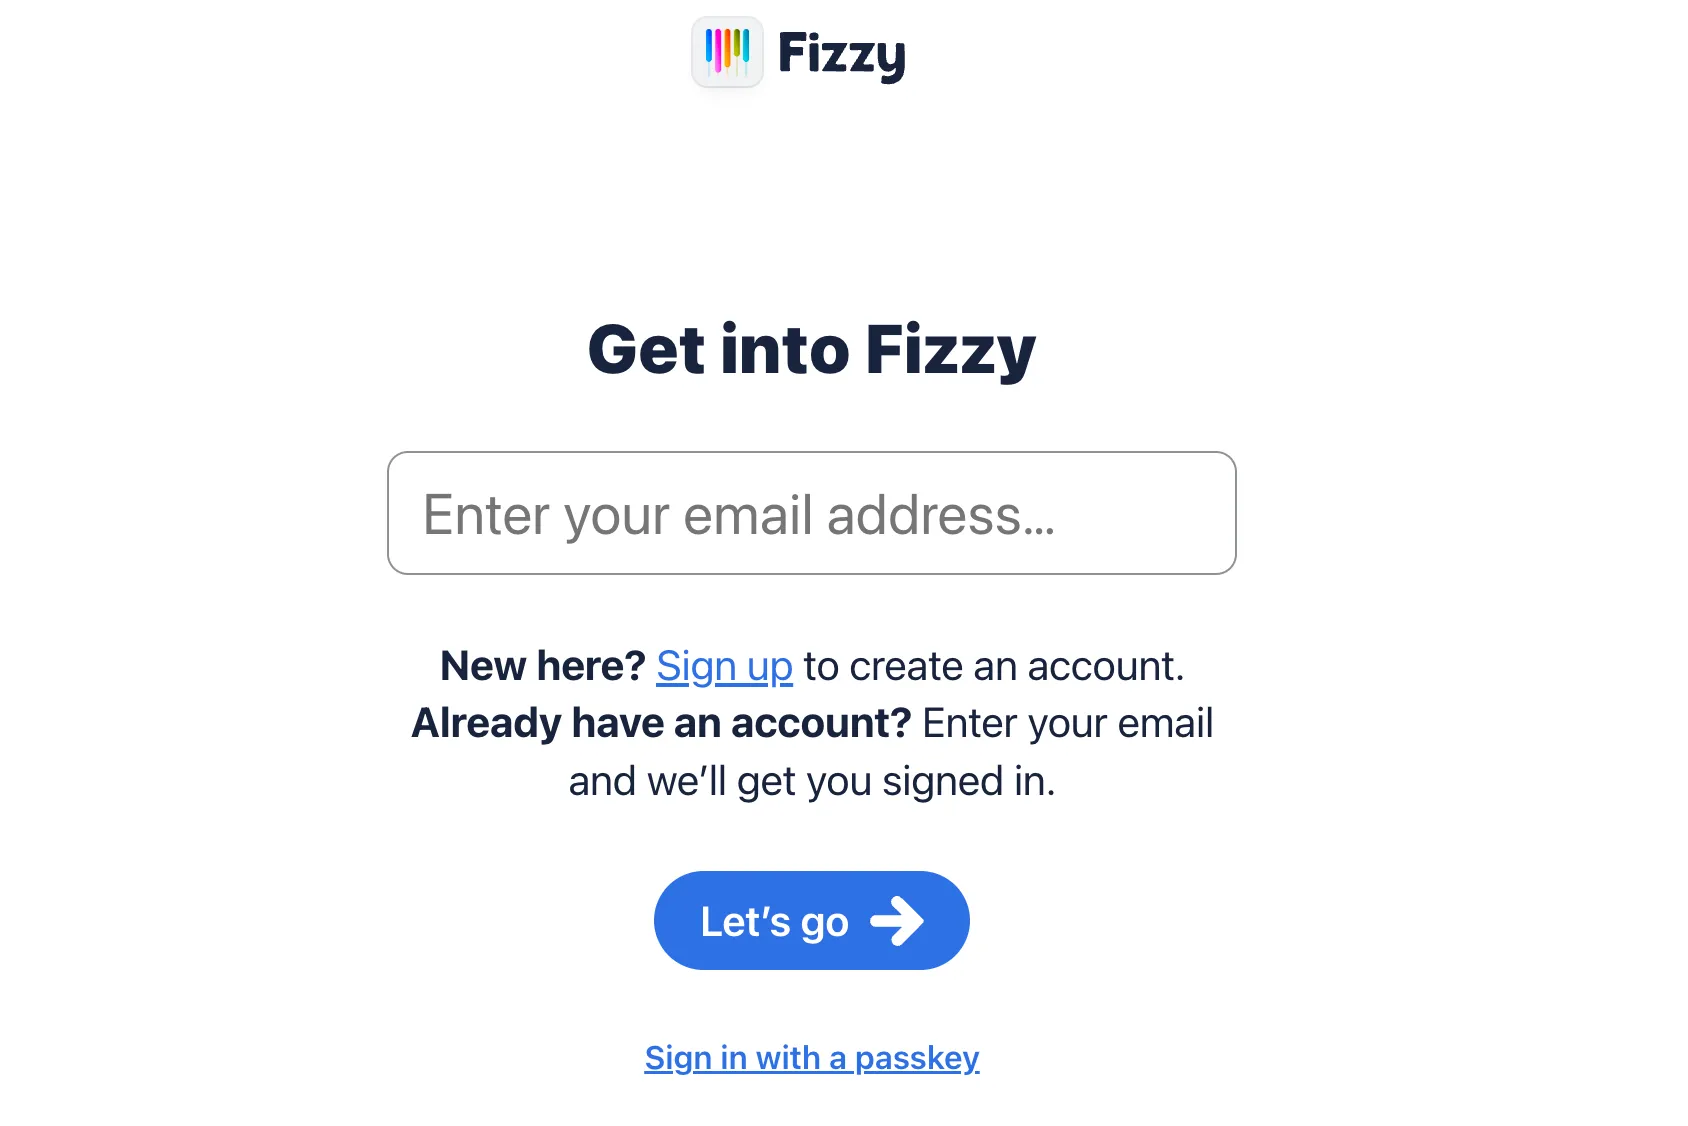
Fizzy only supports logging in by receiving verification codes via email. If you have set up SMTP correctly, check your inbox for the code.
Getting the Verification Code via Docker Command
If you think this is only for personal use and don't want to configure SMTP, you can manually query the last generated verification code using the following command:
1 | docker compose exec fizzy bin/rails runner 'p MagicLink.column_names; p MagicLink.last&.attributes' |
Output:
1 | {"id" => "abcdefg.....", "code" => "ABCEFG", |
Just use the six characters after code to log in.
Adding a Passkey
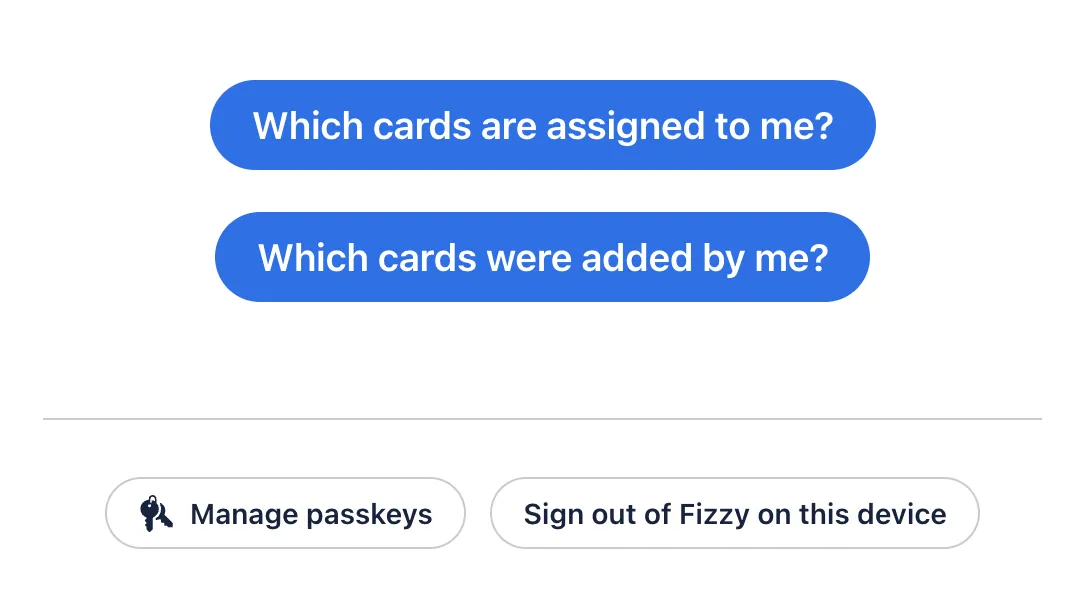
However, you can't open the server to query it every time you log in. Fizzy supports adding Passkeys.
Click on the top or press J to open the settings panel, then click My Profile. In the bottom left corner, there is a Manage passkey button. Click it to add a Passkey. After that, you can log in quickly and conveniently.
Usage Guide
After entering the verification code and logging in, you will enter Fizzy's Playground main board. Currently, Fizzy only supports an English interface.
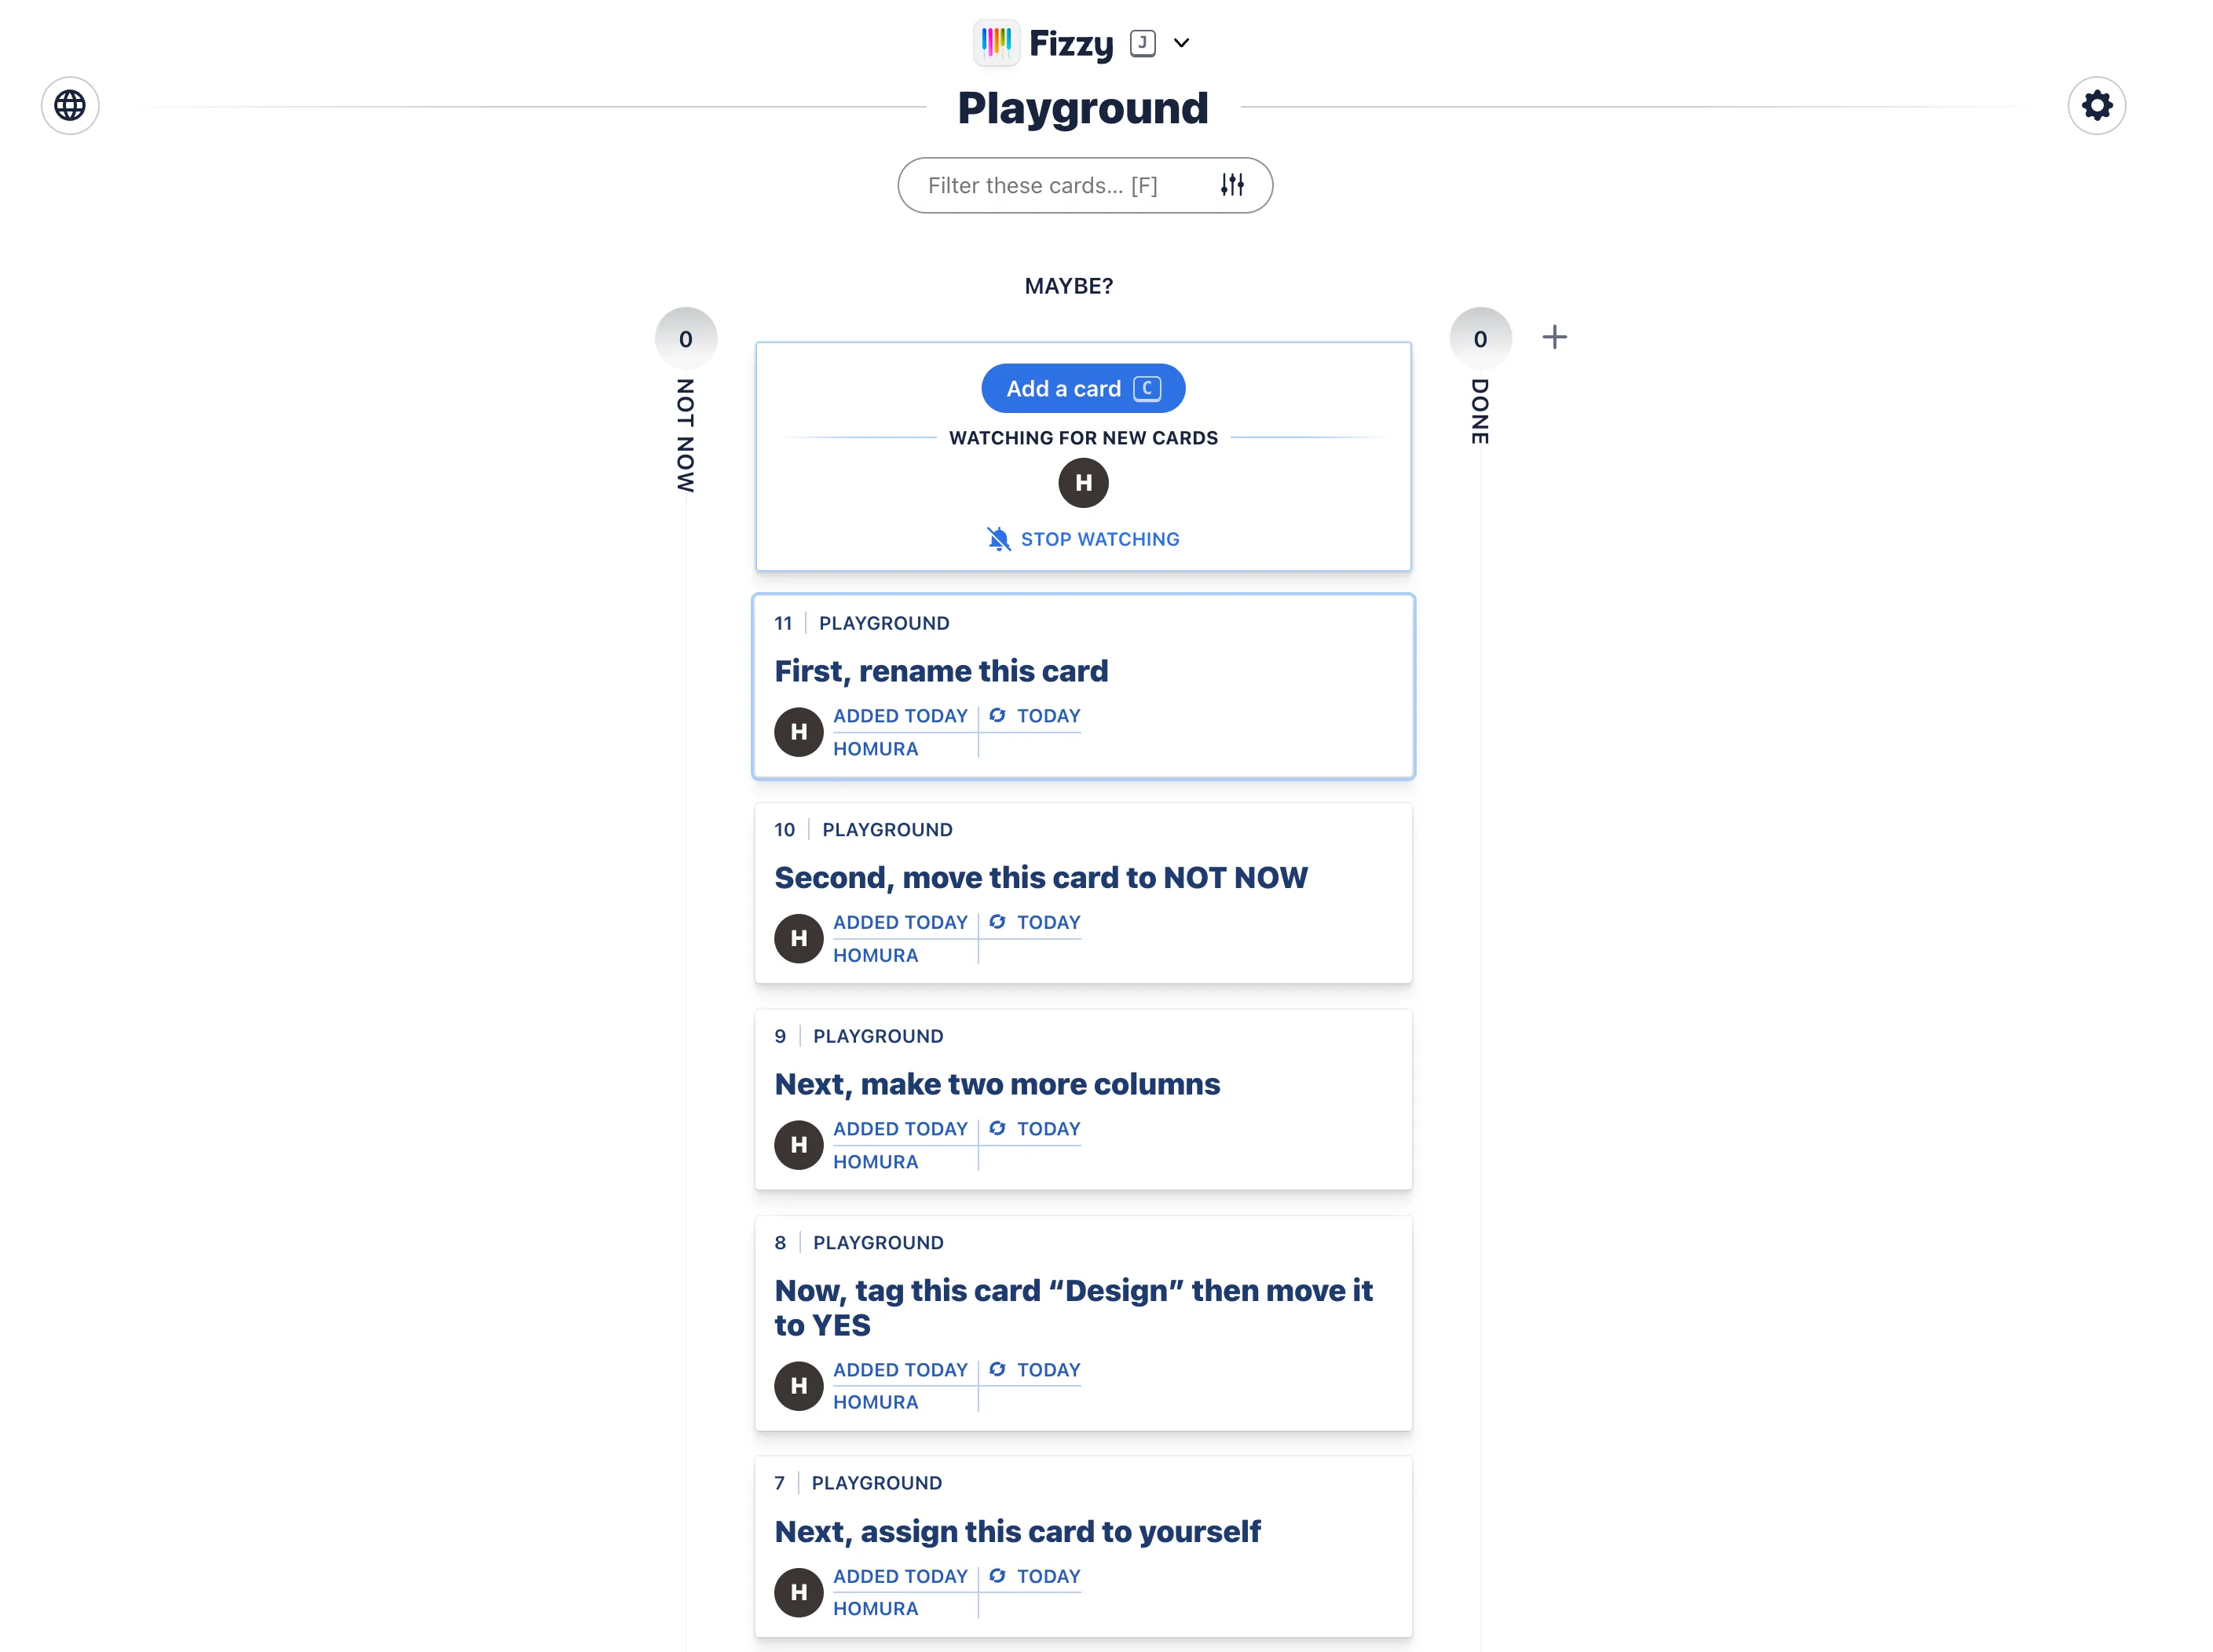
In Fizzy, each column represents a board, which can be used to indicate the state or attributes of a task. The built-in cards explain how to use Fizzy. Briefly speaking, for the three default boards:
- NotNow: Tasks that don't need to be processed right now. Cards that have not been updated for over 30 days will be automatically moved here.
- MAYBE?: Tasks that might need to be processed.
- DONE: Completed tasks.
You can click the + on the right side of DONE to create custom boards as needed.
Start planning and organizing your tasks now!
Security Warning
If you deploy Fizzy on a cloud server, do not use "3080:80" to expose the Docker container port directly to the public network. It is recommended to use "127.0.0.1:3080:80" and provide HTTPS access via an Nginx or Caddy reverse proxy.
Comments