
Introduction
For modern websites, HTTPS certificates have become essential. Although we can obtain free certificates using Let's Encrypt and quickly request/automatically renew them with acme.sh, editing Nginx configuration files every time we add a new domain is still somewhat tedious.
This article will introduce how to use Nginx Proxy Manager to set up an Nginx reverse proxy, which also supports automatic application and renewal of HTTPS certificates. You can even use APIs to apply for certificates within a local area network (LAN)!
Nginx Proxy Manager is fully graphical, so it doesn't matter if you don't understand code. It is highly suitable for personal use!
Main Features:
- Beautiful user interface
- Easy reverse proxy configuration
- Easy HTTPS configuration with built-in Let's Encrypt support
- Docker image provided for easy deployment
- Multi-user support with simple access permission settings
Comparison with Nginx
| Feature | Nginx Proxy Manager | Nginx (Manual Configuration) |
|---|---|---|
| Configuration Method | Web interface management, simple operation | Manually edit configuration files, high flexibility |
| Functionality | Basic reverse proxy and SSL management | Supports advanced features and complex scenarios |
| Security | Lower update frequency, relies on third-party maintenance | Regular official updates, more secure and reliable |
| Error Tolerance | Mistakes in configuration can affect the whole service | Independent site configurations, no mutual interference |
| Performance | Limited performance for high concurrency, suitable for lightweight apps | Native performance, supports high concurrency scenarios |
| Applicable Scenarios | Suitable for small projects and non-technical users | Suitable for large projects and advanced users |
Prerequisites
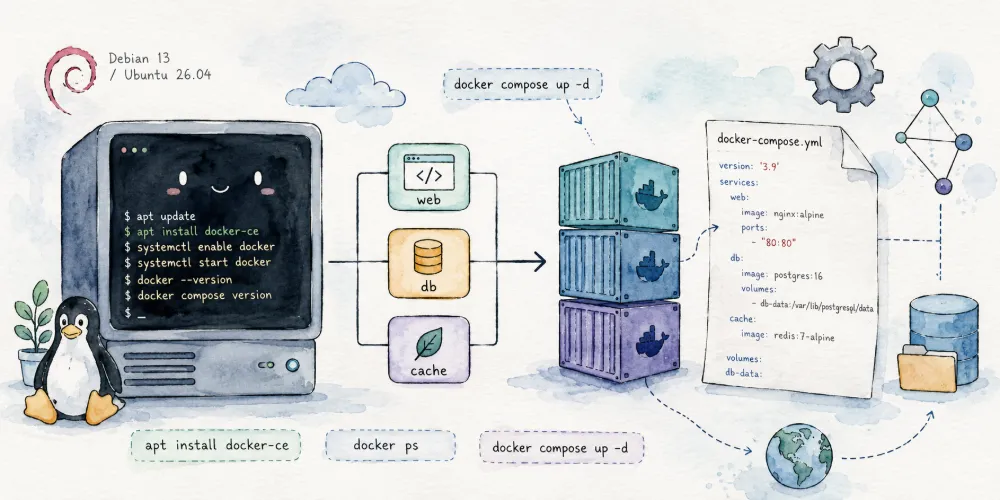
Nginx Proxy Manager is deployed using Docker, so you will need to have Docker and Docker Compose installed on your server.
If you haven't installed them yet, you can check: Installing Docker and Docker Compose on Debian
Installing with Docker
Create a working directory, then create a docker-compose.yml file inside it and fill it with the following content:
1 | services: |
80is the port for HTTP web traffic.81is the management port for Nginx Proxy Manager.443is the port for HTTPS web traffic.
Nginx Proxy Manager's data is stored in the ./data folder in the same directory as docker-compose.yml, and certificates are stored in the ./letsencrypt folder. You can modify these paths as needed.
Since ports 80 and 443 are required, if you have Nginx installed on the host machine, please disable it first.
Use docker compose to run Nginx Proxy Manager:
1 | docker compose pull |
Accessing the Panel
Once started, visit http://<server_ip>:81 to open the management panel.
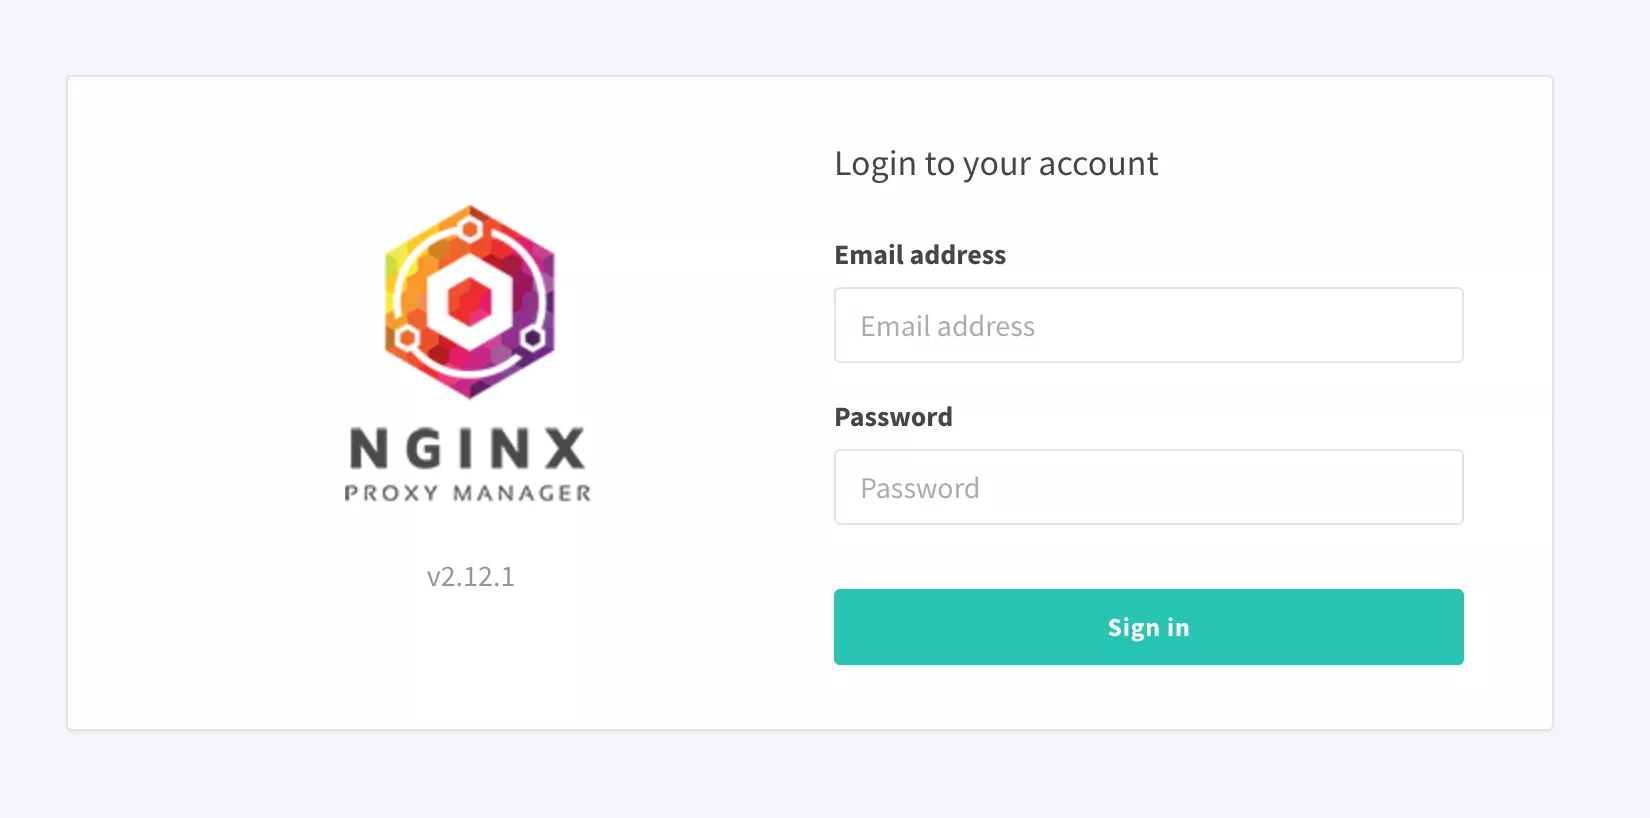
The default admin credentials are as follows. You will be prompted to reset your email and password upon logging in:
1 | Email: [email protected] |
After startup, please log in immediately to configure your account credentials.
Feature Introduction
Once installed, we can see the functional areas of Nginx Proxy Manager at the top:
- Hosts: Management of reverse proxy sites.
- Access Lists: Configuration of access control policies.
- SSL Certificates: Management of SSL certificates.
- Users: Multi-user configuration.
- Audit Log: Audit logs.
- Settings: Configuration for responses when requested domains are not in the site list.
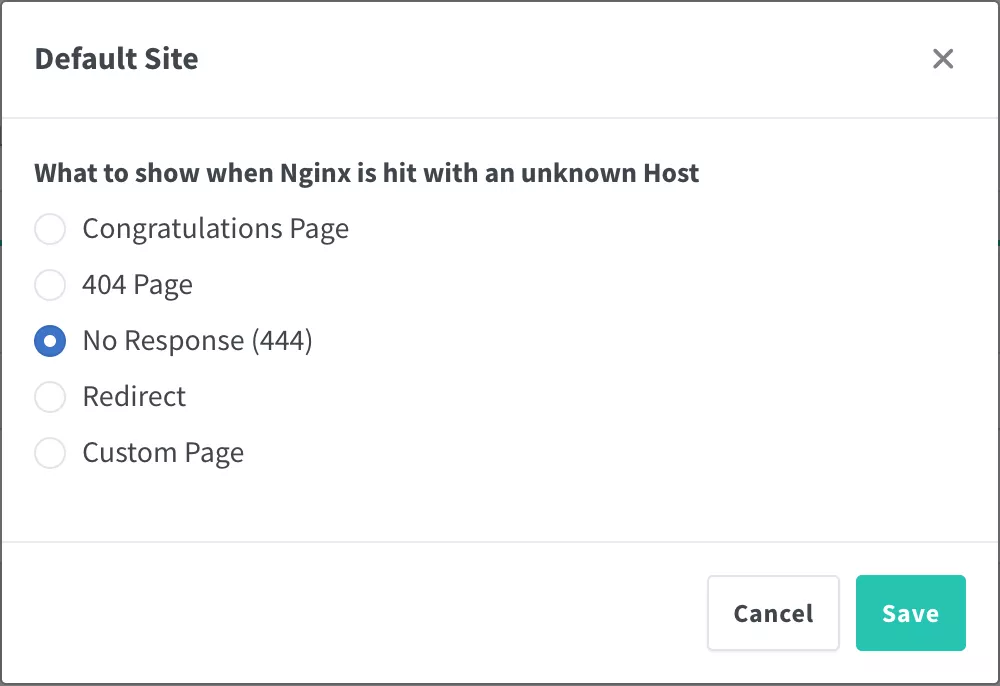
Applying for Certificates
First, we need to apply for a certificate for our domain. Click SSL Certificates at the top, then click Add SSL Certificate.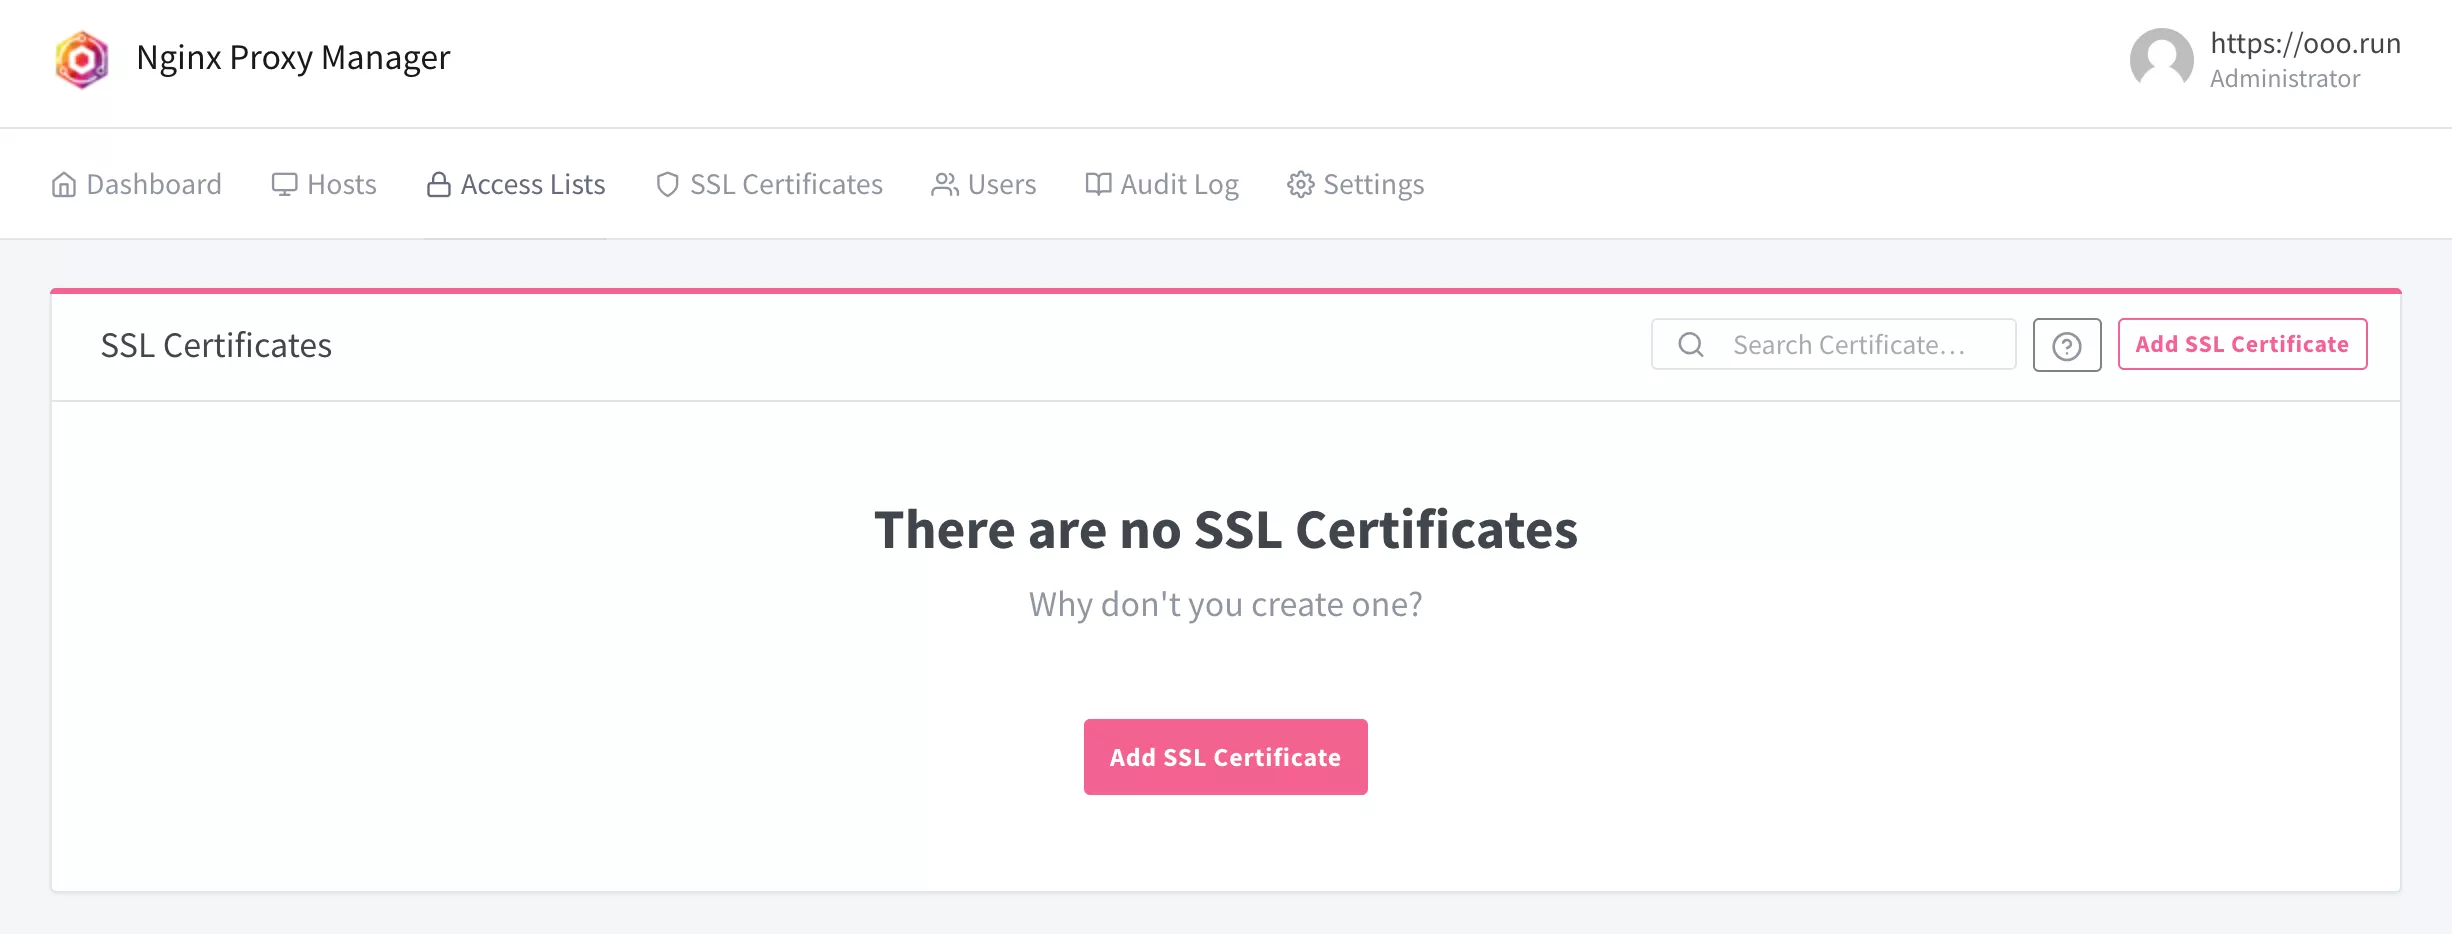
Certificates generated by Nginx Proxy Manager will renew automatically.
Single-Domain Certificate
To apply for a single-domain certificate, you only need to:
- Point your domain's DNS resolution to the server.
- Domain Names: Enter the domain name you want the certificate for.
- Enter the email address to be used with Let's Encrypt.
- Agree to the Let's Encrypt Terms of Service.
- Click Save.
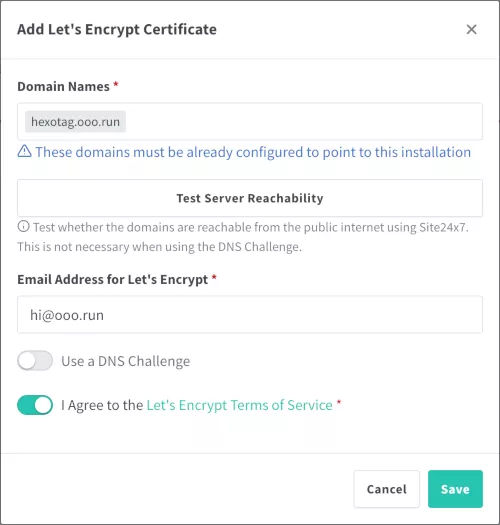
You can click Test Server Reachability to test connection before saving.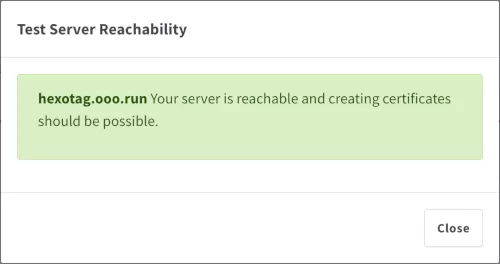
Applying for Wildcard Certificates
Applying for a wildcard certificate like *.example.com requires modifying DNS records via a DNS API challenge. Nginx Proxy Manager supports a very long list of providers; here, we take Cloudflare as an example.
First, we need to obtain an API token. Visit https://dash.cloudflare.com/profile/api-tokens, click Create Token, and in the next step select Use template corresponding to Edit zone DNS.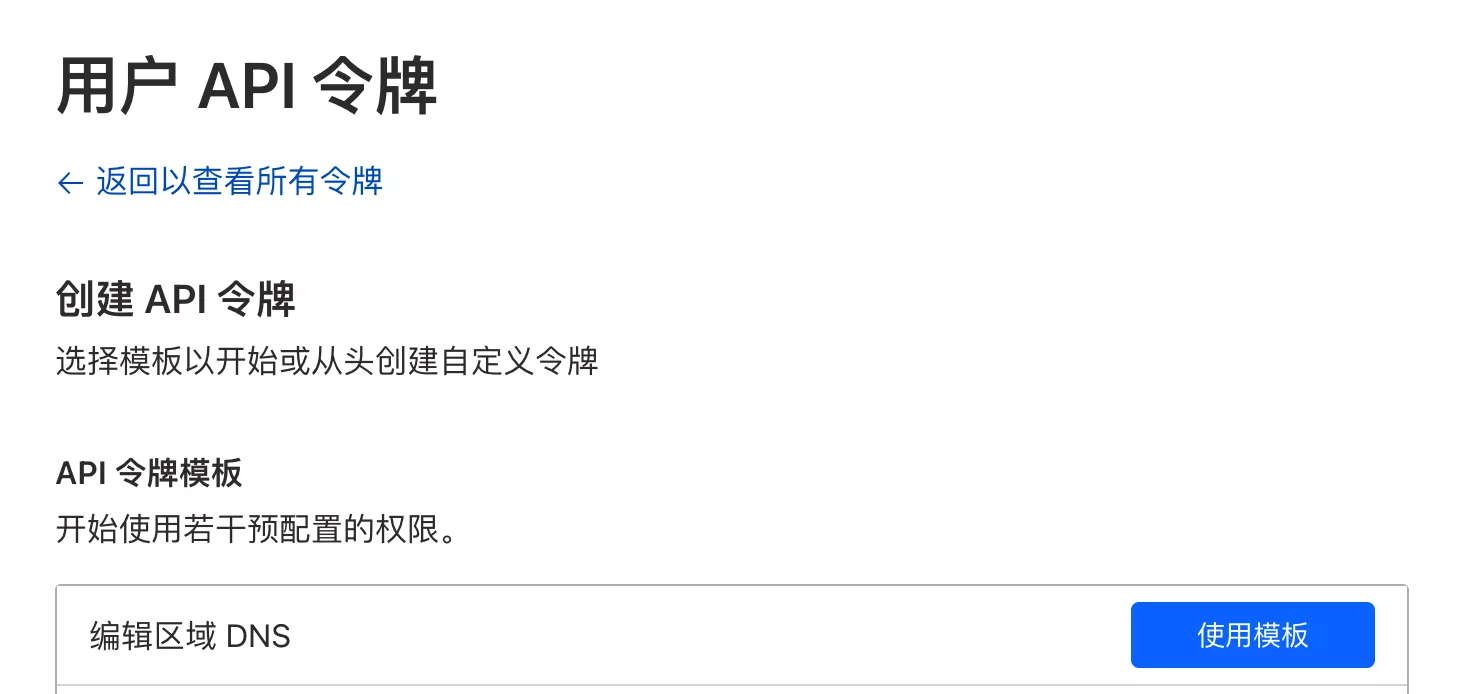
Set the detailed token configurations in the next step:
- Token name: Change to a name for distinction.
- Permissions: Keep the default Edit.
- Zone Resources: Specific zone, and select the corresponding domain.
- Client IP Filtering: Configure which IPs can use the token. You can select Is in, then enter your server's IP.
- TTL: Token expiration. By default, it is valid permanently.
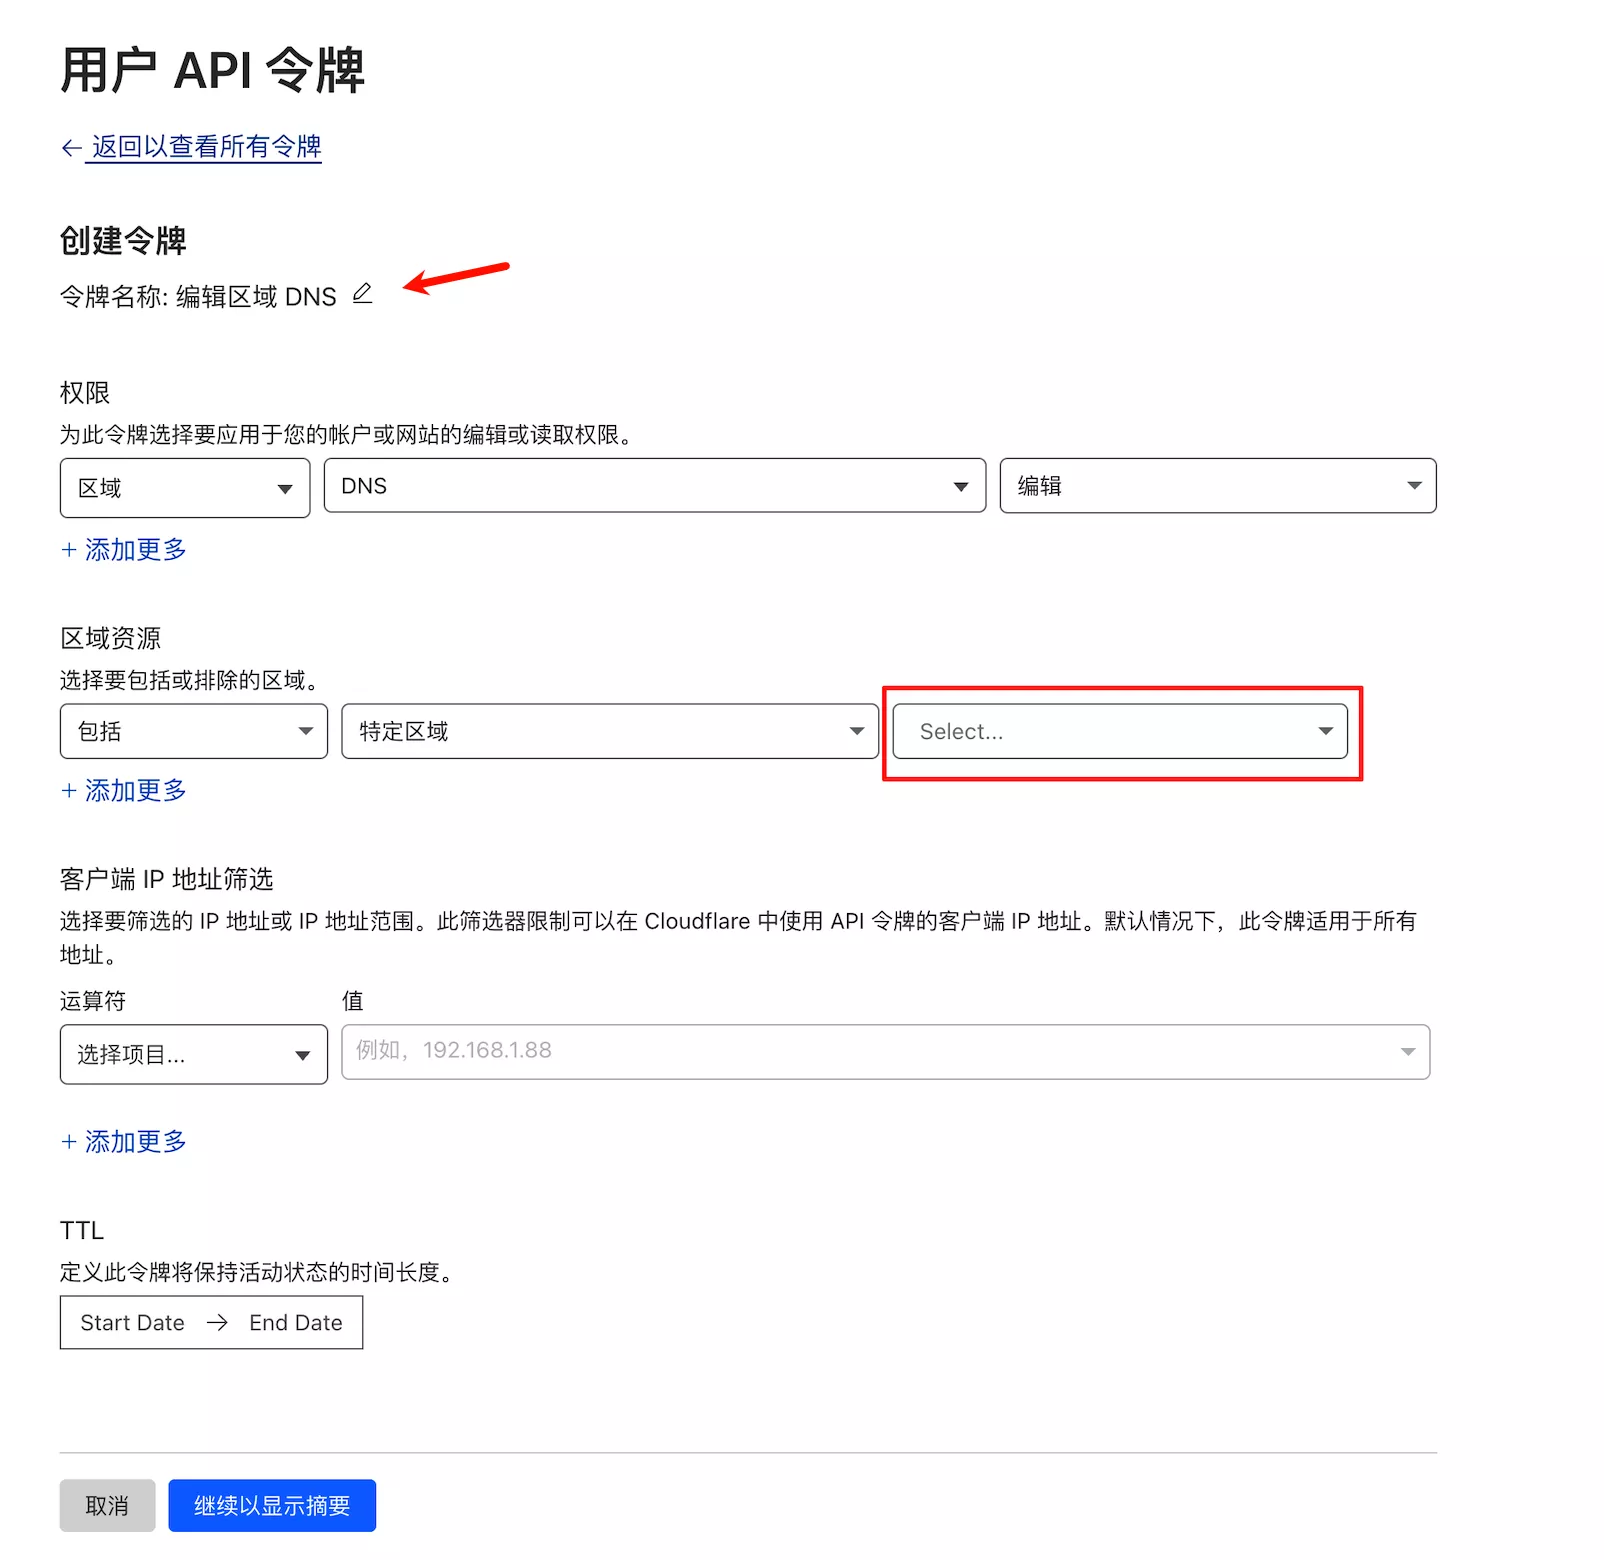
Click Continue to summary, verify the token details, and if correct, click Create Token.
Once created, the Token will be displayed. Click Copy to copy it.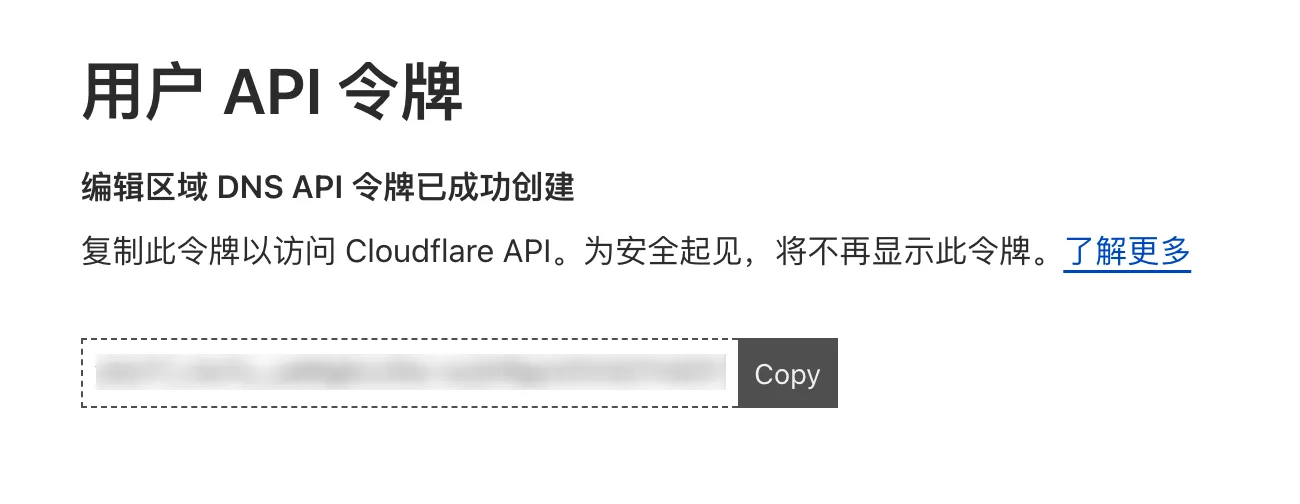
Only this time you can view the Token in plaintext; it cannot be viewed again.
Then apply for the certificate in Nginx Proxy Manager:
- Domain Names: Enter
*.example.comandexample.com. - Enter the email address for Let's Encrypt.
- Enable Use a DNS Challenge.
- DNS Provider: Choose Cloudflare.
- Replace the
tokenin the Credential File Content. - Agree to the Let's Encrypt Terms of Service.
- Click
Saveto apply.
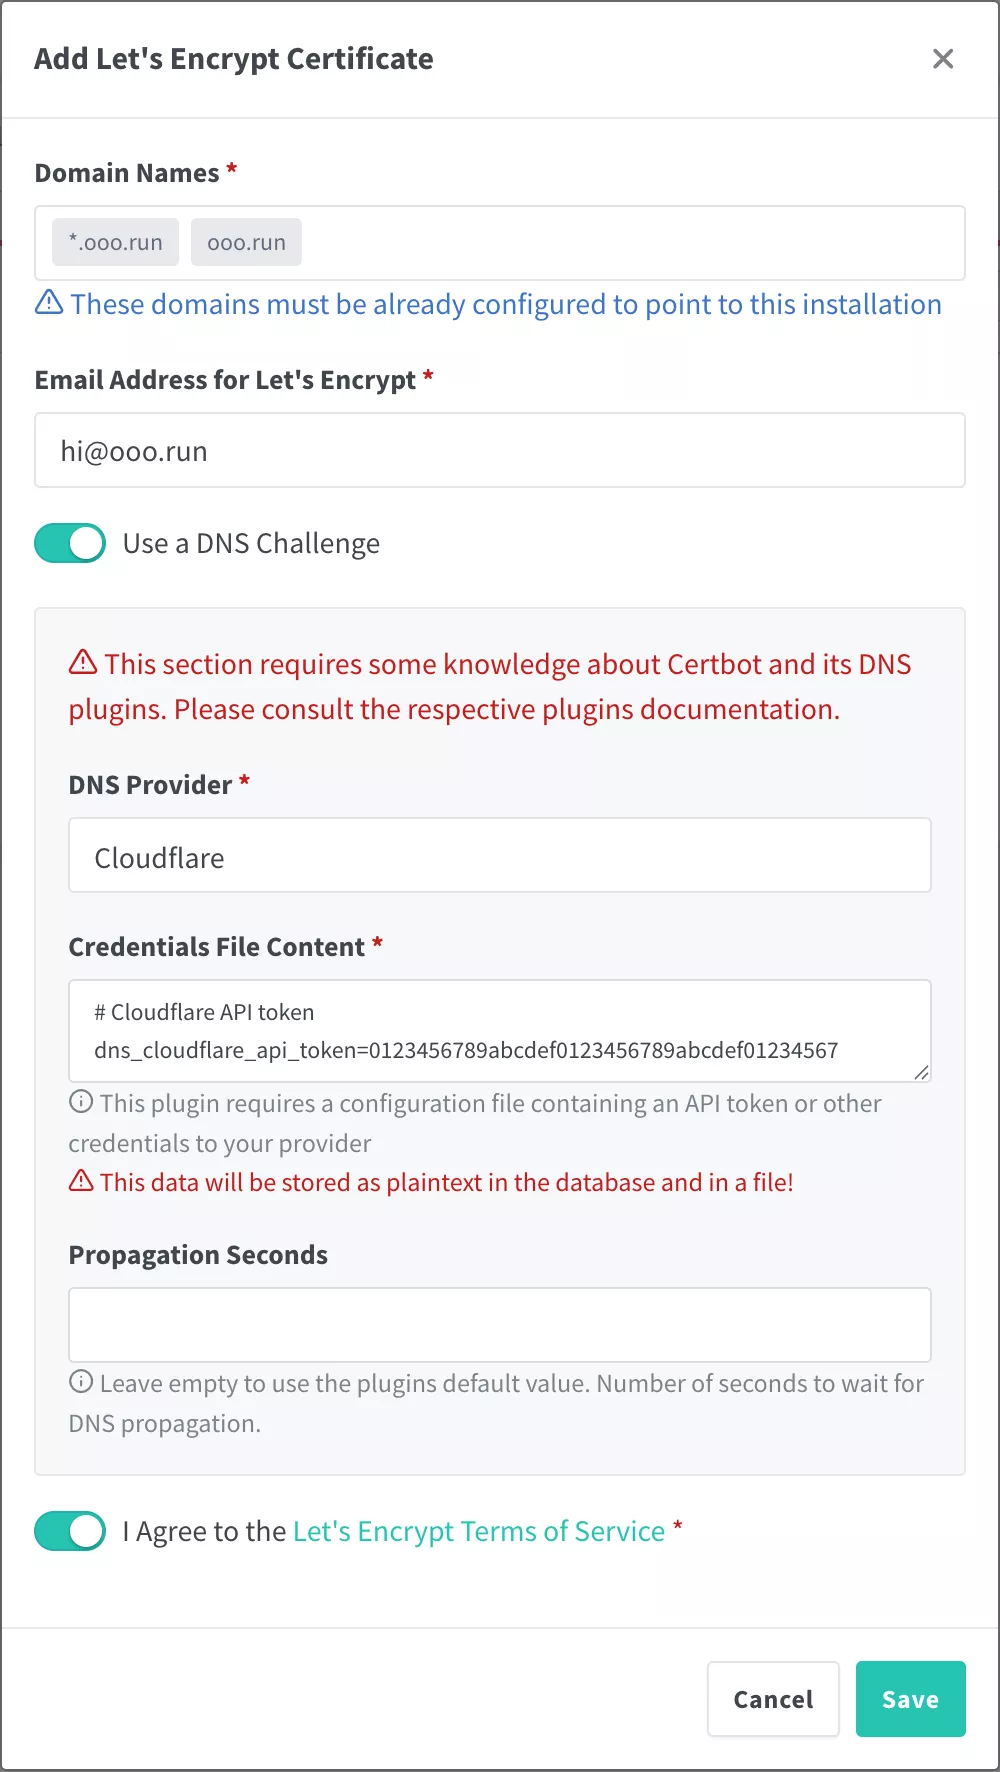
Once successful, it will appear in the list.
Adding Reverse Proxy Sites
Example: Reverse Proxying the Admin Panel
By default, Nginx Proxy Manager's administration port is exposed to the public internet, which is insecure. However, if we remove this port mapping, modifying settings in the future becomes tedious. To solve this, we can configure a subdomain for access. First, point a subdomain like nginx.example.com to your server.
In Hosts > Proxy Hosts, click Add Proxy Host. The target address for the admin panel is http://127.0.0.1:81:
- Domain Names: Enter your subdomain.
- Scheme: Protocol of the target site,
http. - Forward Hostname/IP: Target IP or domain. Here, enter
127.0.0.1. - Forward Port: Target port,
81. - Cache Assets: Whether to enable caching.
- Block Common Exploits: Block common exploits.
- Websockets Support: Whether to enable WebSocket support.
- Accessible: Set access restrictions.
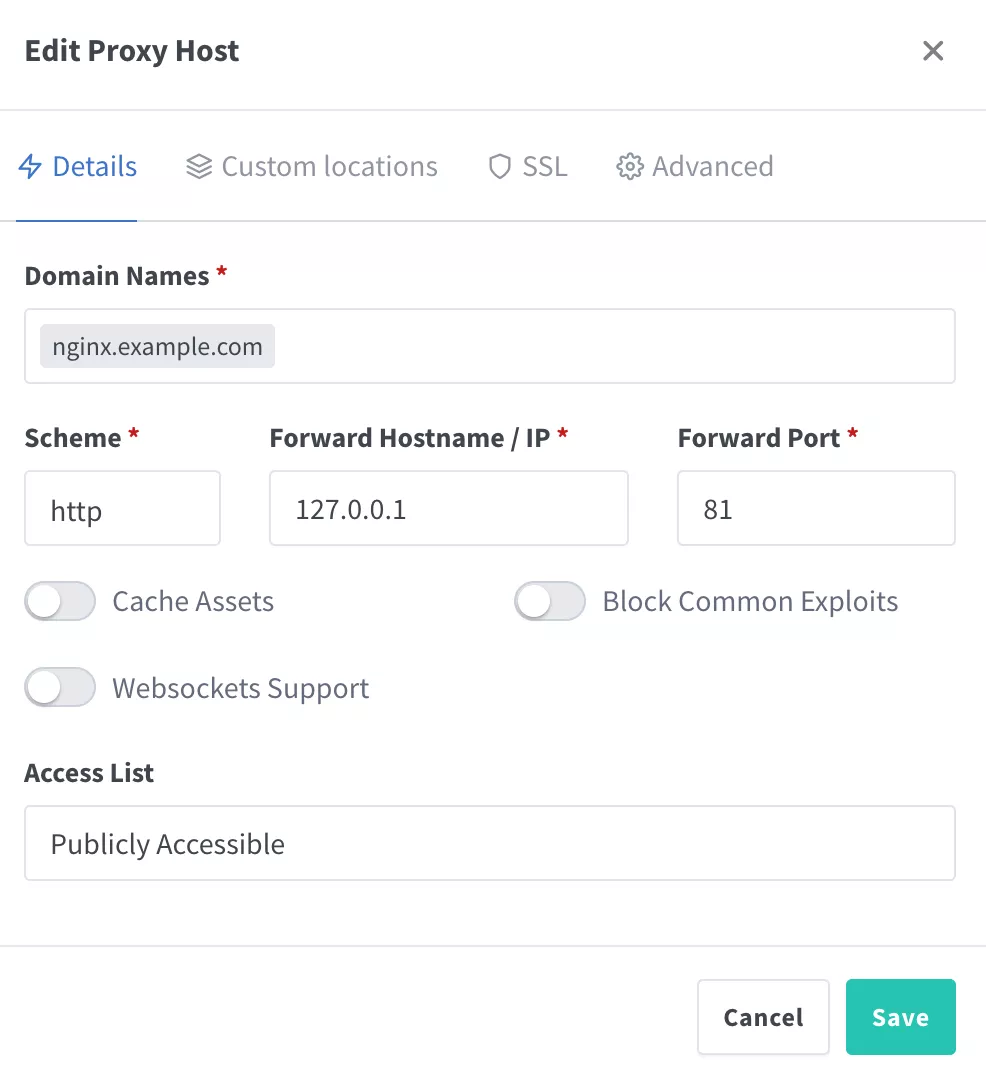
Then, click the SSL tab at the top to select your certificate:
- Force SSL: Whether to force HTTPS access.
- HTTP/2 Support: Whether to enable HTTP/2 support.
- HSTS Enabled: Whether to enable HSTS (HTTP Strict Transport Security).
- HSTS Subdomains: Whether to apply HSTS to subdomains.
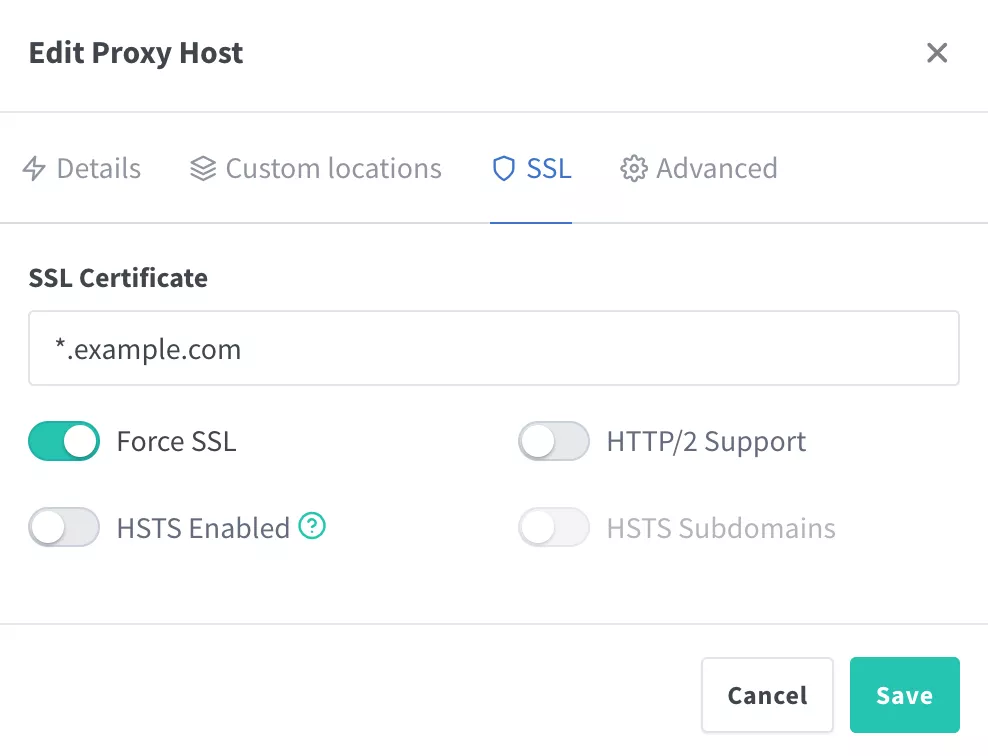
We can add custom configurations in the Advanced tab, for example:
1 | gzip on; |
These will be inserted into the site's Nginx configuration block.
If you add a custom location block, it must contain proxy forwarding declarations.
Now visit https://nginx.example.com in your browser. If you can access it successfully, we can comment out the admin port in the Docker compose configuration!
1 | ports: |
Then recreate and restart the Nginx Proxy Manager container:
1 | docker compose down |
Since the admin panel resides within the container environment, we can proxy to 127.0.0.1.
You cannot use 127.0.0.1 to proxy services running on the host machine or other Docker containers. Instead, use the command ip addr show docker0 to find the IP address of the Docker bridge network, which is typically 172.17.0.1. Other Docker containers must also be configured to listen on 172.17.0.1 rather than 127.0.0.1 to disable public access while allowing reverse proxying.
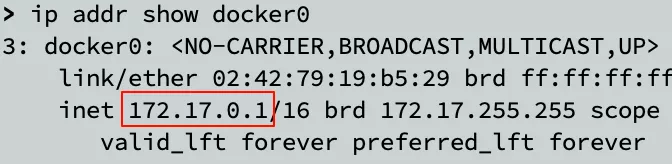
Viewing Configurations
The generated configurations for reverse proxied sites are located under data/nginx/proxy_host on the host machine, saved as numerically incrementing .conf files.
Proxying Static Sites on the Host Machine
Since Nginx Proxy Manager binds to ports 80 and 443, you cannot run another Nginx instance directly on the host machine using those same ports to serve static sites. Instead, configure the host's Nginx to listen on 172.17.0.1:8080, and then use Nginx Proxy Manager to add a reverse proxy pointing to it.
Summary
If you are a personal user who primarily uses Nginx for reverse proxying, Nginx Proxy Manager is an ideal choice to simplify configuration, especially for SSL certificates. It is beginner-friendly and can also be used in local area networks.
If you need to serve websites directly via Nginx, especially in production environments, manually configuring Nginx is recommended to fully leverage its performance and flexibility. You can use acme.sh to obtain and automatically renew SSL certificates.
Comments