
Introduction
Unlike WordPress, static blog systems do not come with a built-in comment system. However, as static blogs grow in popularity, the community has developed a variety of comment systems for us to choose from.
If you don't have your own blog yet, you can check out: Building a Personal Blog with Hexo and GitHub.
Based on the Hexo Butterfly theme, this article will introduce how to add the following four comment systems. You can choose the one that suits you best, and the steps are generally applicable to other themes or blog systems:
- Giscus: Comments are hosted on GitHub. Users must log in with a GitHub account to comment, which is quite popular among developers.
- Twikoo: A self-hostable comment system. User comments do not require logging in, and it can be hosted on third-party cloud services.
- Artalk: Also self-hostable. Compared to Twikoo, it offers better internationalization support for more display languages. It requires a server for deployment.
- Disqus: Relatively the simplest to set up. Users must log in and require a Disqus account. It contains advertisements, and may be inaccessible in Mainland China.
For more comment systems, you can check the Butterfly Configuration Documentation.
Giscus
Giscus is a comment system powered by GitHub Discussions. Other GitHub-based comment systems include Gitalk and Utterances, but Giscus is recommended as it is simpler to set up and requires fewer permissions.
Prerequisites
- Your repository must be public, otherwise visitors will not be able to view discussions.
- The giscus app must be installed on your GitHub account, otherwise visitors will not be able to comment or react.
- The Discussions feature must be enabled in your repository.
Setup steps:
Creating a Repository
First, visit https://github.com/new to create a public GitHub repository, which can be named blog-commnts.
Enabling Discussions
On the repository page, click Settings at the top.
Scroll down to the Features section and check Discussions to enable it.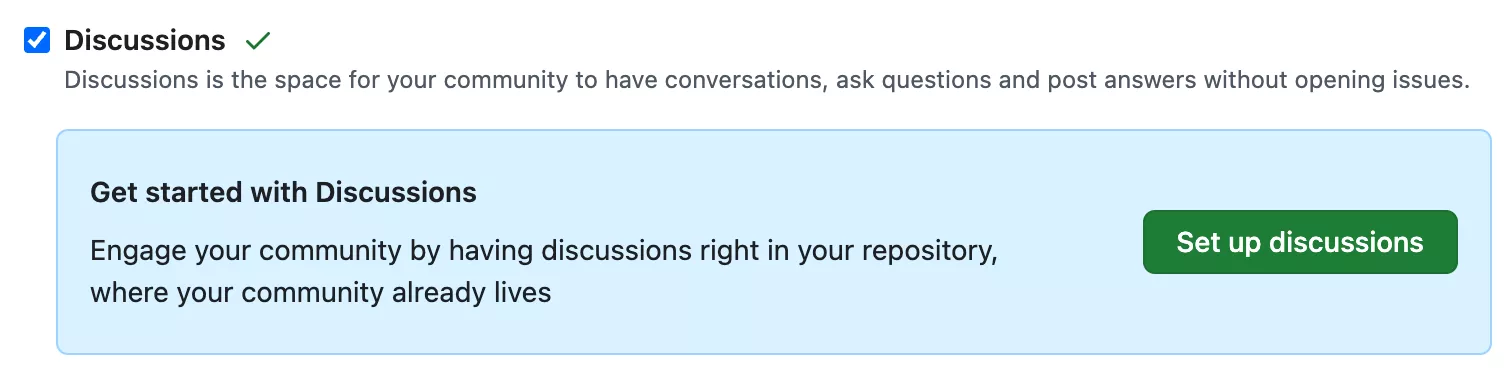
Installing the Giscus App
Visit https://github.com/apps/giscus, click Install, and enter the repository selection screen.
Select Only select repositories, then choose the blog-commnts repository created earlier, and click Install.
Obtaining Giscus Settings
Visit Giscus and start from the configuration section:
- Select language
- Set the repository: enter the blog-commnts repository created above.
- Page ↔️ Discussion Mapping: keep default.
- Discussion Category: choose Announcements as recommended.
- Features: keep default.
- Theme: keep default or choose one you like.
Under the Enable giscus section, you will see your Giscus configuration:
1 | <script src="https://giscus.app/client.js" |
Enabling Giscus
Edit the _config.butterfly.yml file under the Hexo directory and find the comments section:
1 | comments: |
Then run the commands to preview comments on your local site:
1 | hexo g |
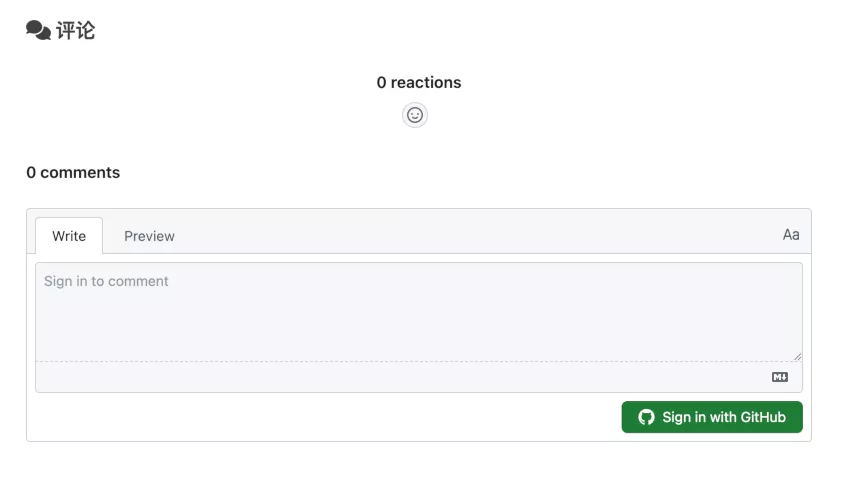
Giscus Preview
Twikoo & Artalk
Prerequisites
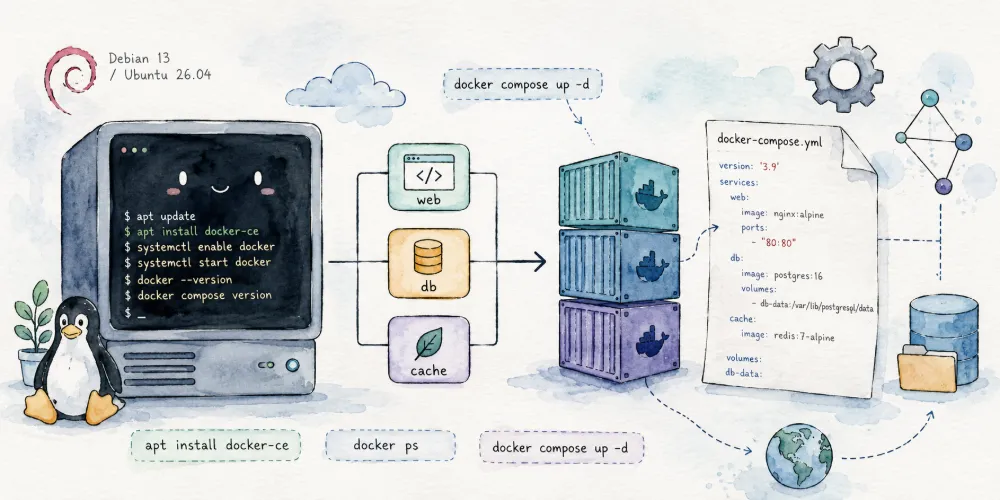
- A server with Docker and Docker Compose installed: Installing Docker and Docker Compose on Debian.
- Allocate a subdomain for the Twikoo / Artalk service.
- Configure the HTTPS certificate for the subdomain.
We will use docker compose to manage Twikoo or Artalk services.
Introduction to Twikoo
Twikoo is a clean, secure, and free static website comment system.
Twikoo can be hosted using cloud services, supporting third-party cloud platforms such as Tencent Cloud, Vercel, or Cloudflare Workers. It can also be deployed on your own VPS server.
The official documentation provides deployment guides for various platforms. Since using third-party services requires registering multiple platform accounts, this article will only introduce private deployment using Docker.
Introduction to Artalk
Artalk is also a simple yet feature-rich comment system. Compared to Twikoo, Artalk has better internationalization support for more display languages, but it cannot be hosted on third-party cloud services.
If you have a VPS server, both Twikoo and Artalk are excellent choices. You can compare their specific features and interface styles before making a decision.
Creating docker-compose.yml
First, create a working directory, then create a docker-compose.yml file inside the folder, and fill it with the following content:
1 | services: |
1 | services: |
Starting the Service
1 | # Pull/update images |
After Artalk runs, execute the following command to create an admin account:
1 | docker exec -it artalk artalk admin |
Setting Up Nginx Reverse Proxy
1 | server{ |
Testing Twikoo
Access the domain you configured. If successful, Twikoo will display:
1 | {"code":100,"message":"Twikoo function is running properly...","version":"1.x.x"} |
Testing Artalk
Access the domain you configured. If successful, Artalk will display the login screen.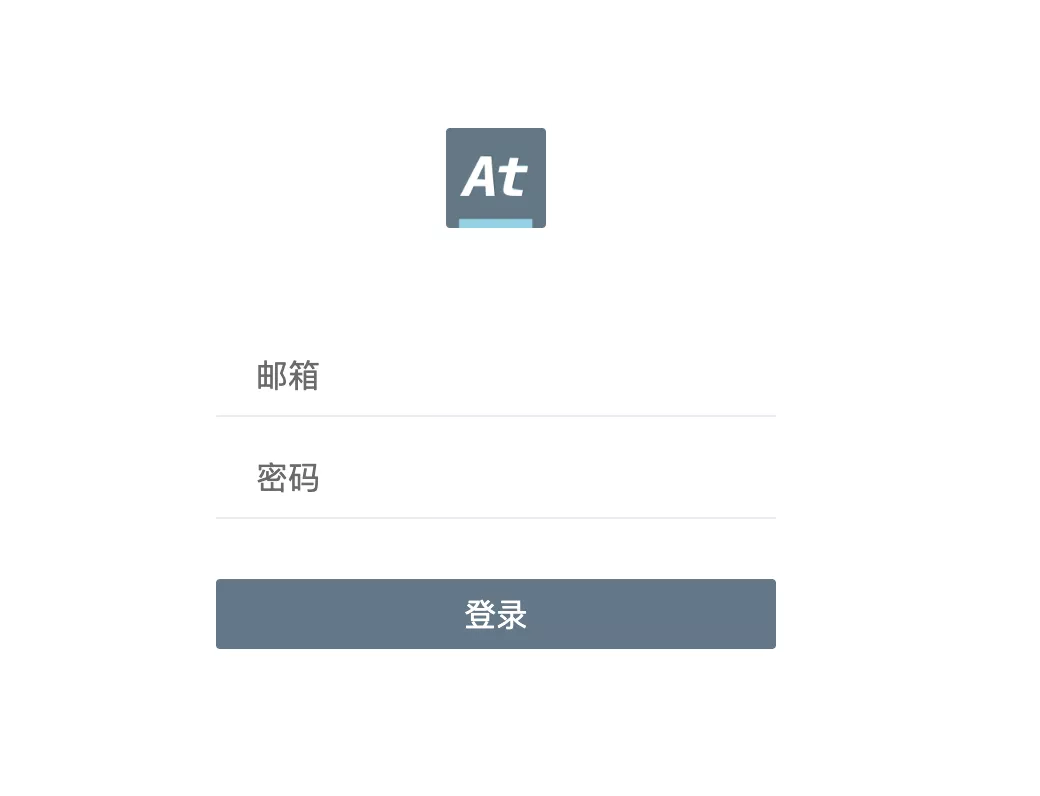
Enabling in the Theme
Edit the _config.butterfly.yml file under the Hexo directory:
1 | comments: |
1 | comments: |
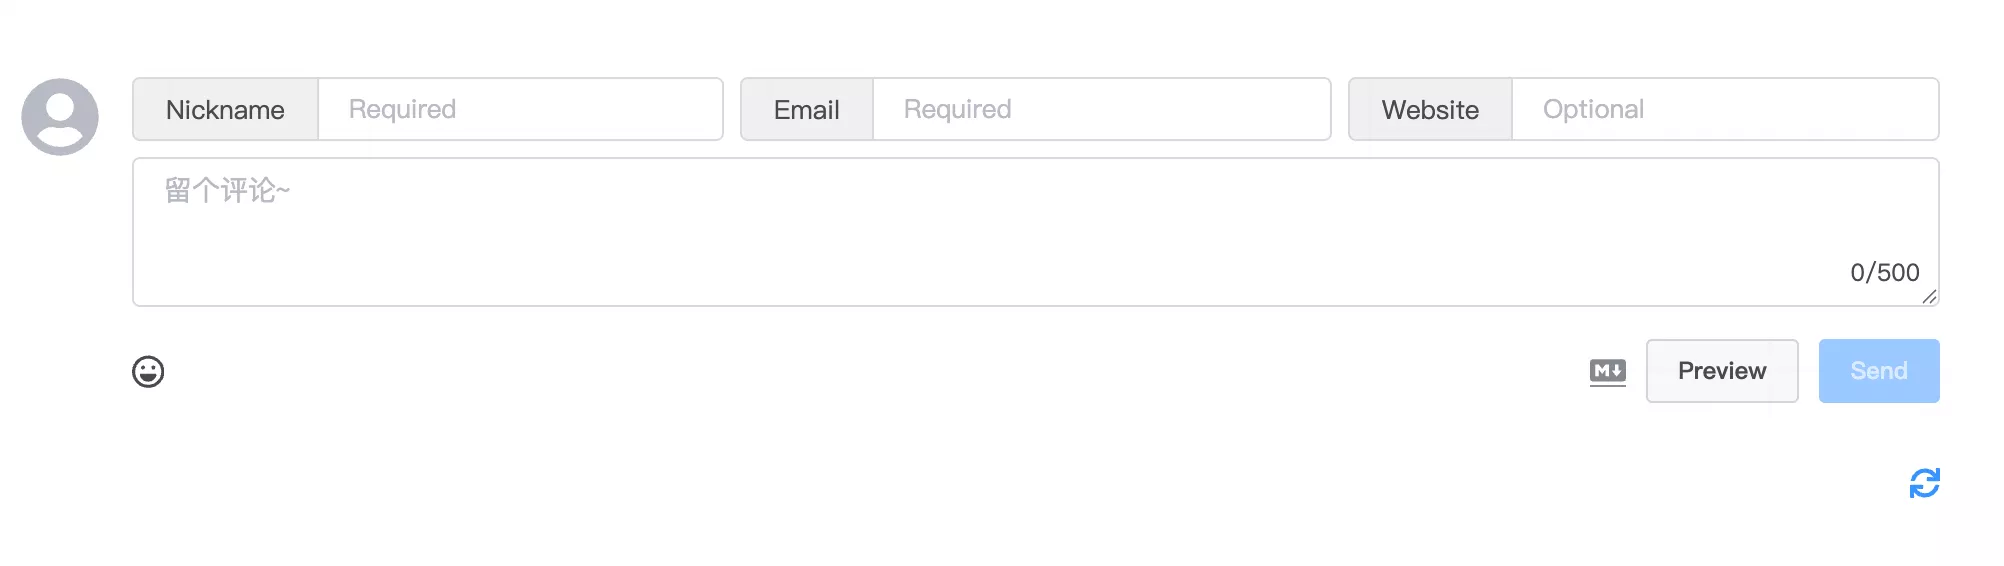
Preview
Run the commands to preview comments on your website:
1 | hexo g |
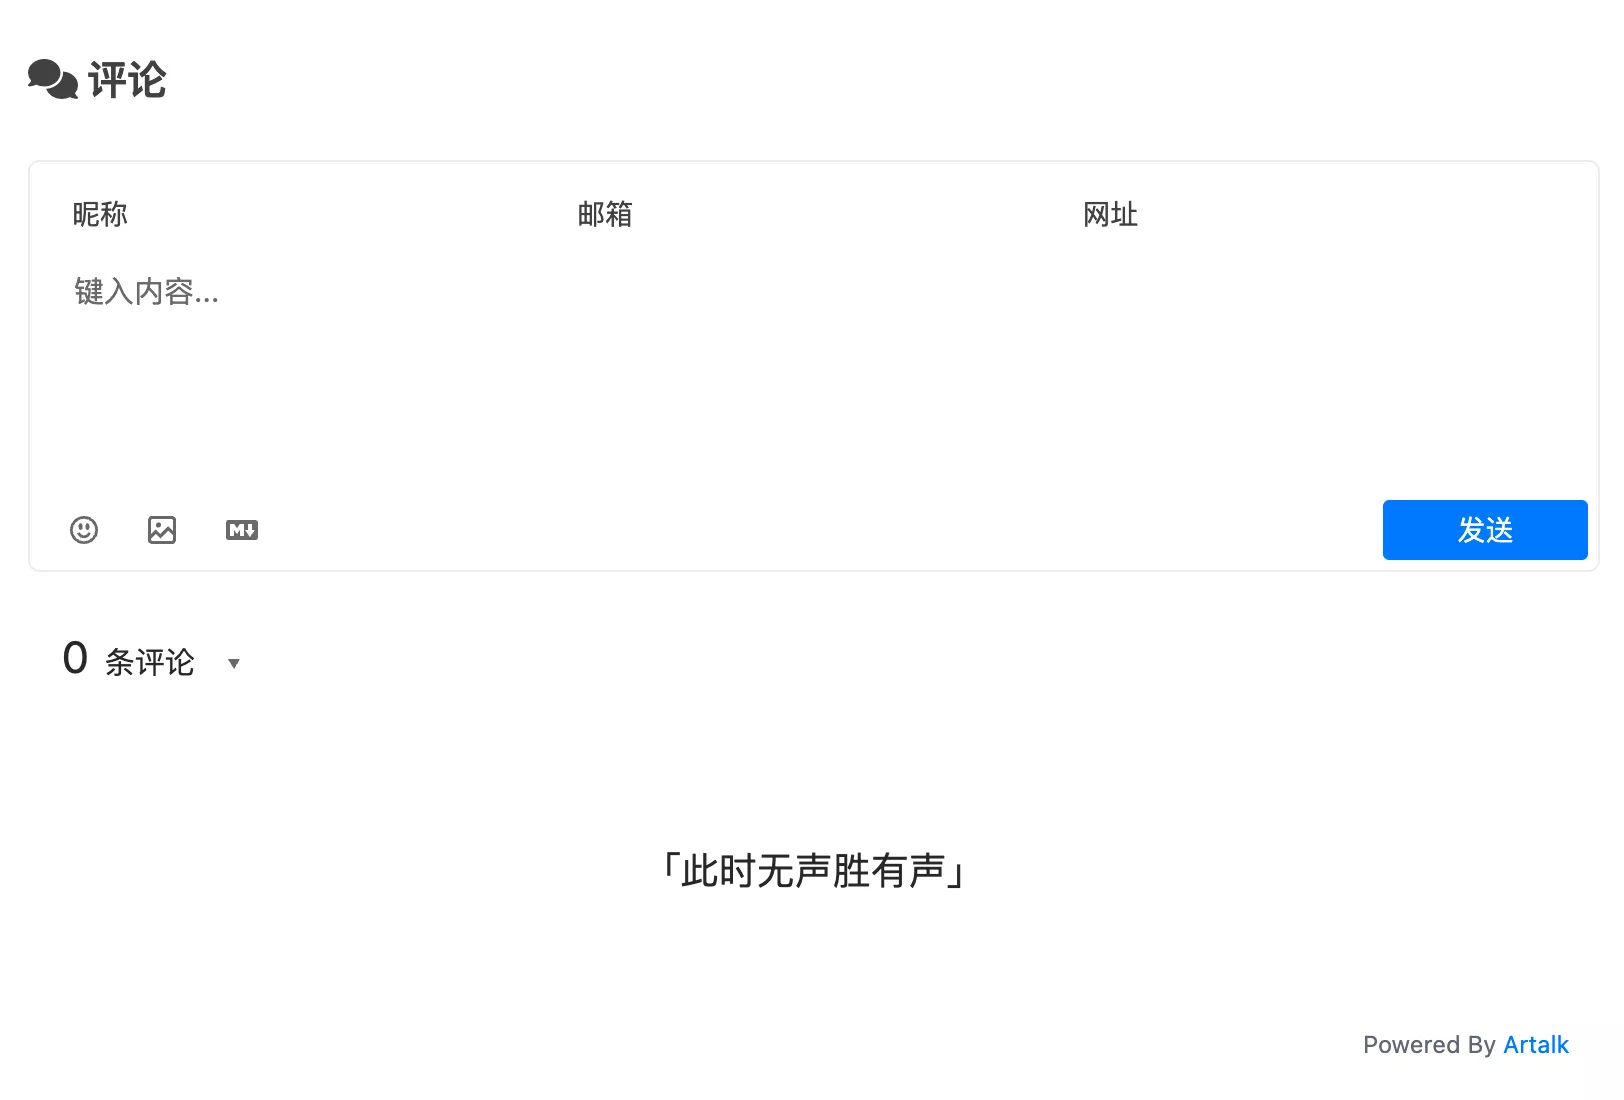
Configuration Panels
Twikoo:
The first time you open the Twikoo panel, you need to set an admin password. Then, you can enter the panel to import comments, configure site information, SMTP email notifications, message pushes, etc.
Artalk:
For Artalk, access your configured domain and log in to the admin panel using the admin account to adjust settings, where you can also configure SMTP email notifications, message pushes, etc.
[!WARNING]
Using#### Artalkas a heading will cause comments to fail to display properly.
Disqus
Disqus is a third-party comment service platform. Using Disqus does not require self-hosting; you only need to configure site information on the Disqus website and enable it in the theme settings. However, the free version includes ads and promotions.
Obtaining your shortname
First, register a Disqus account, then visit https://disqus.com/admin/create/ to enter the site creation page.
The "Website Name" field will be your shortname used in configurations.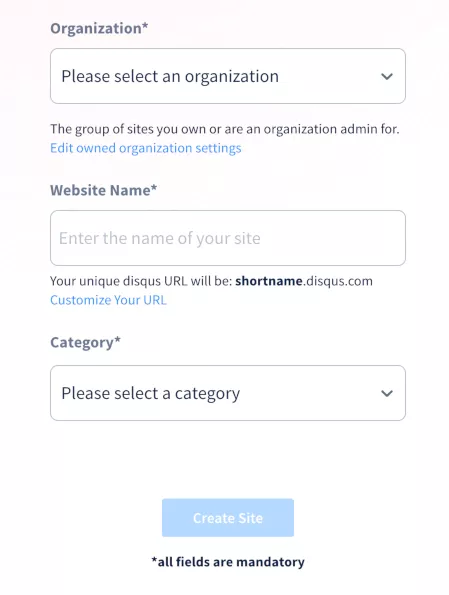
Click "Create Site" to proceed to the "Install" screen. You do not need to install it from here; you can simply close it. You can also visit https://<shortname>.disqus.com/admin/ to modify settings.
Enabling Disqus in the Theme
Edit the _config.butterfly.yml file under the Hexo directory:
1 | comments: |
Then run the commands to preview comments on your website:
1 | hexo g |

Comments