为 Hexo 博客添加评论系统,Giscus or Twikoo or Arttalk or Disqus

为 Hexo 博客添加评论系统,Giscus or Twikoo or Arttalk or Disqus
Mr. O前言
静态博客系统不像 Wordpress 一样自带评论系统,不过由于使用静态博客的人越来越多,社区已经有了多种评论系统可以供我们选择。
如果你还没有属于自己的博客,可以查看: 使用 Hexo + GitHub 建立个人博客
本文将基于Hexo Butterfly 主题介绍以下四种评论系统的添加方法,可以选择一个适合自己的,同样适用于其他主题或是其他博客系统:
- Giscus: 评论托管在 GitHub 上,用户评论必须使用 GitHub 账户登陆,在开发者中比较流行。
- Twikoo:可以自己托管的评论系统,用户评论无需登陆,可以使用第三方云服务托管。
- Artalk: 同样可以自己托管,相比于 Twikoo 国际化更好支持更多的显示语言,需要有一个服务器部署。
- Disqus: 设置上相对最简单,用户评论必须登陆,需要有 Disqus 账户,会有广告,中国大陆可能无法访问
更多的评论系统可以查看 Butterfly 设置文档
Giscus
Giscus 是一个基于 GitHub Discussions 的评论,其他基于 Github 的评论系统还有 Gitalk 、Utterances 等,推荐使用 Giscus ,设置更为简单一些,而且请求的权限更少。
准备工作
- 你的仓库必须是公开的 (public),否则访客将无法查看 discussion
- 你的 GitHub 已安装 giscus app ,否则访客将无法评论和回应
- 在你的仓库中启用 Discussions 功能
设置步骤如下
创建仓库
首先访问 https://github.com/new 创建一个公开的 GitHub 仓库,可以叫做 blog-commnts
开启 Discussions
在仓库的 Web 页面,点击顶部的 Settings
向下滚动,在 Features 部分,勾选开启 Discussions
安装 Giscus APP
访问 https://github.com/apps/giscus 点击 Install,进入选择仓库界面
选择 Only select repositories ,然后选择刚才创建的 blog-commnts 仓库,点击 Install
获取 Giscus 设置
访问 Giscus ,从设置部分开始
- 选择语言
- 设置仓库,填写上面创建的 blog-commnts 仓库
- 页面 ↔️ discussion 映射关系: 保持默认
- Discussion 分类: 按照推荐选择 Announcements
- 特性: 保持默认
- 主题: 保持默认,或是选择一个自己喜欢的
在 启用 giscus 部分,我们将看到 Giscus 的配置
1 | <script src="https://giscus.app/client.js" |
启用 Giscus
编辑 Hexo 目录下的 _config.butterfly.yml 文件,找到 comments 部分:
1 | comments: |
即可运行命令在网站查看评论预览
1 | hexo g |
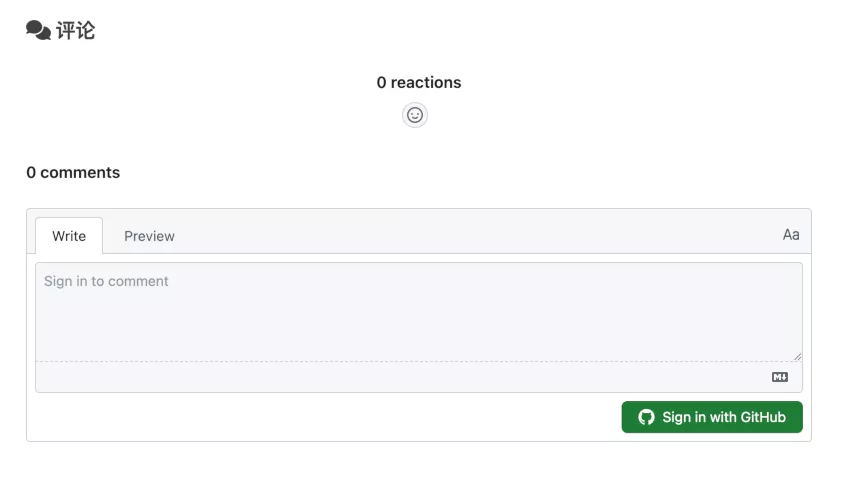
预览 Giscus
Twikoo 与 Artalk
准备工作
- 需要有一台已安装 Docker 与 Docker Compose 的服务器:在 Debian 中安装 Docker 以及 Docker Compose
- 分配一个子域名给 Twikoo / Artalk 服务
- 设置好域名的 HTTPS 证书
我们将使用 docker compose 管理 Twikoo 或 Artalk 服务。
Twikoo 介绍
Twikoo 是一个简洁、安全、免费的静态网站评论系统。
Twikoo 可以选择使用云服务托管,支持腾讯云、Vercel 或是 Cloudflare wrokers 等第三方云平台,也可以选择部署至自己的 VPS 服务器上。
官方文档 针对各个平台都提供了部署说明,由于使用第三方服务需要注册多个第三方平台账户,本文将仅介绍使用 Docker 进行私有部署方式。
Artalk 介绍
Artalk 同样是一款简单易用但功能丰富的评论系统,与 Twikoo 项目,Artalk 国际化更加友好,支持更多的语言,但是无法使用第三方云服务托管。
如果你也有一台 VPS 服务器,那么 Twikoo 和 Artalk 都是不错的选择,可以对比一下具体的功能与界面样式再做选择。
创建 docker-compose.yml
首先创建一个工作目录,然后在文件夹内创建 docker-compose.yml 文件,填入下面的内容
1 | services: |
1 | services: |
启动服务
1 | # 拉取、更新镜像 |
Artalk 在运行后执行下面命令创建管理员账户
1 | docker exec -it artalk artalk admin |
设置 Nginx 反代
1 | server{ |
测试 Twikoo
访问使用的域名,如果成功 Twikoo 会提示
1 | {"code":100,"message":"Twikoo 云函数运行正常,...","version":"1.x.x"} |
测试 Artalk
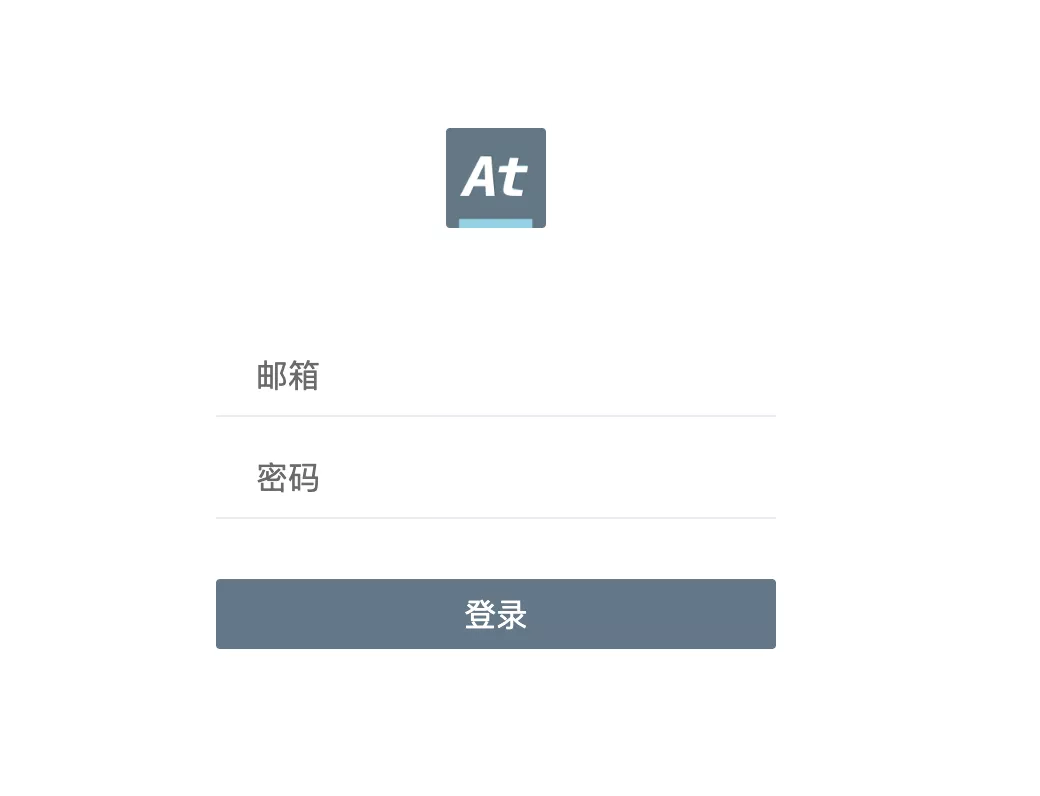
访问使用的域名,如果成功 Artalk 会显示登录界面
在主题中启用
编辑 Hexo 目录下的 _config.butterfly.yml 文件:
1 | comments: |
1 | comments: |
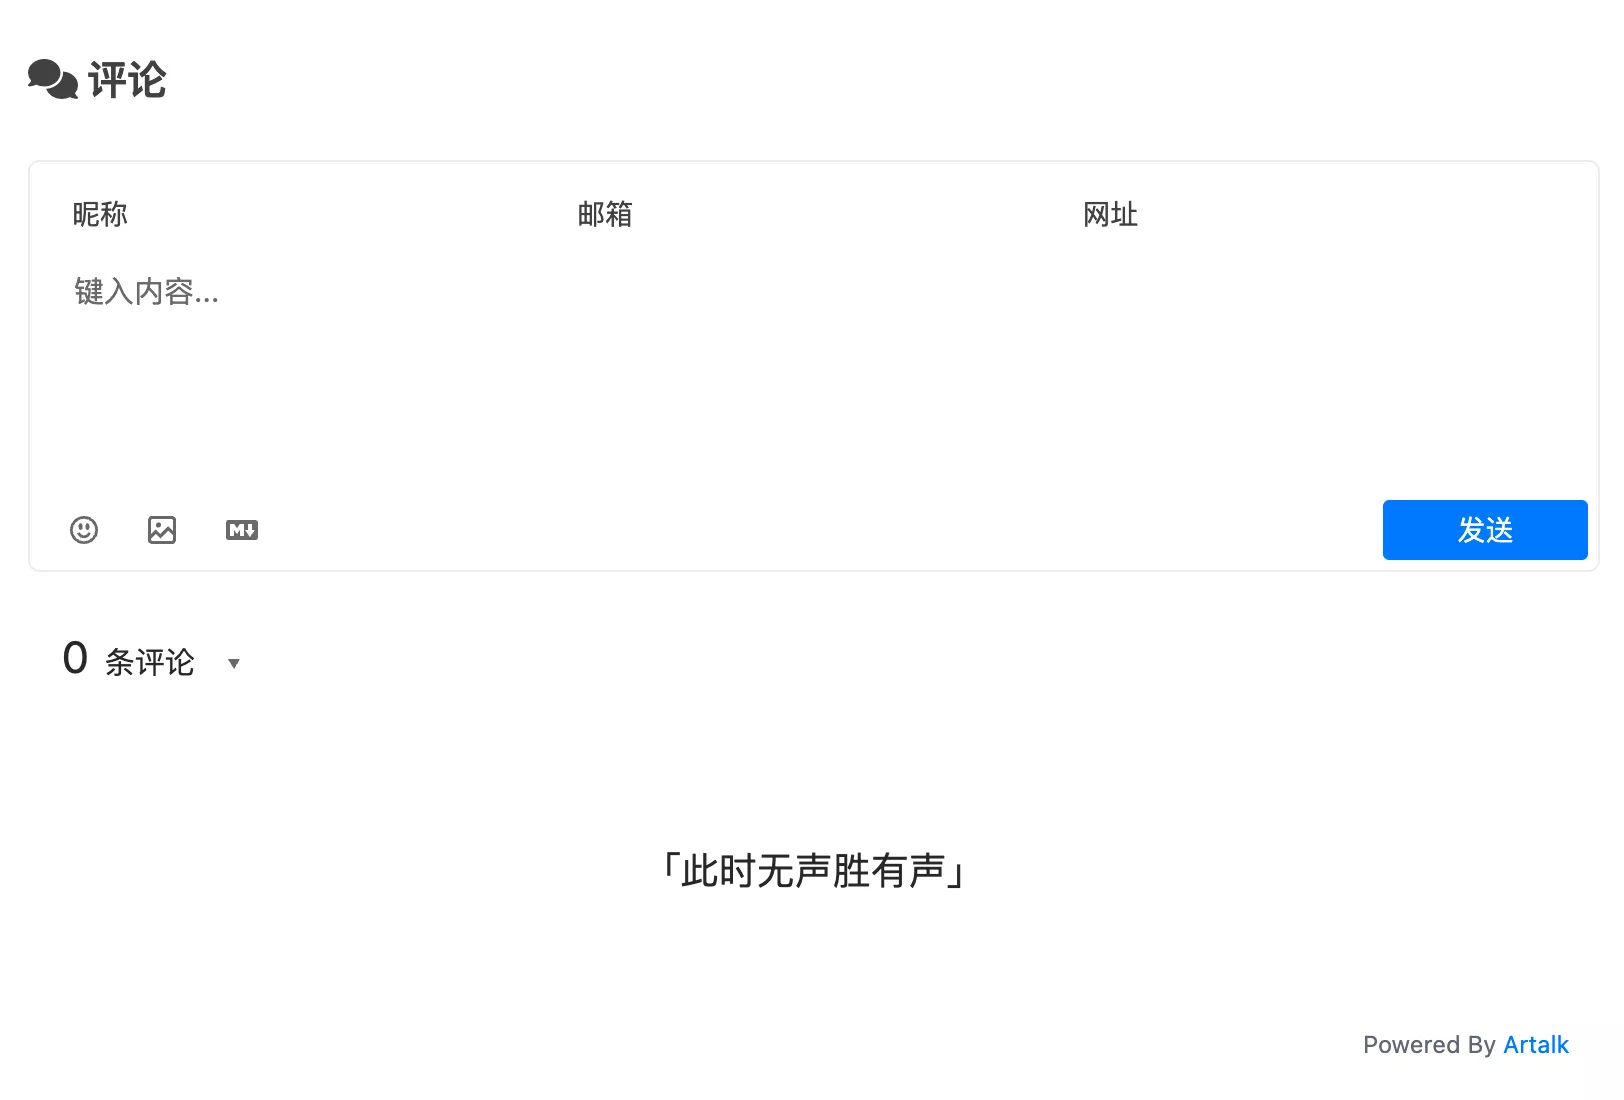
预览
运行命令在网站查看评论预览
1 | hexo g |
设置面板
Twikoo:
第一次打开 Twikoo 面板,需要设置 密码 ,然后进入面板可以导入评论、设置站点信息、SMTP 邮件发送、消息推送等功能。
Artalk:
Artalk 则是访问自己的域名,使用管理员账户登陆后台进行设置,同样可以设置SMTP 邮件发送、消息推送等功能。
使用 #### Artalk 的标题会导致评论无法显示
Disqus
Disqus 是一个第三方评论服务平台,使用 Disqus 无需我们自己手动部署,只需要在 Disqus 网站设置好站点信息后,在主题中启用即可,但是免费的版本包含广告与推广。
获取 shortname
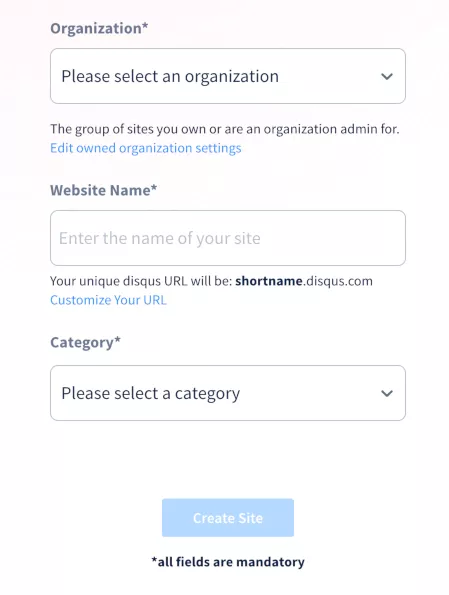
首先需要注册一个 Disqus 账户,然后访问 https://disqus.com/admin/create/ 进入站点创建页面
其中 Website Name 填写的就是我们之后需要用到的 shortname
点击 create site 后进入 Install 界面,我们不需要从这里安装,可以直接关闭,当然也可以访问 https://shortname.disqus.com/admin/ 修改站点的一些设置。
在主题中启用 Disqus
编辑 Hexo 目录下的 _config.butterfly.yml 文件:
1 | comments: |
即可运行命令在网站查看评论预览
1 | hexo g |


